Guided surgery using a 3D-printed drill template
A clinical case report by Sebastian Weber, Austria
This female patient with an edentulous maxilla presented at the Dental Clinic of the DPU in Krems, Austria, in January 2014 requesting implant provision. After a comprehensive history was taken and her dental situation assessed (maxilla complete denture, mandible front tooth bridge from 34-44 and model cast with Preci attachments), the general conditions for her management were analyzed during the initial visit. She declined any form of bone augmentation and very specifically requested a solution similar to that for her mandible (Preci attachment).
Author: Sebastian Weber

Sebastian Weber
Cand. med. dent. at the Dental Clinic of the Danube Private University, Krems an der Donau, Austria.
Related topics
Treatment planning
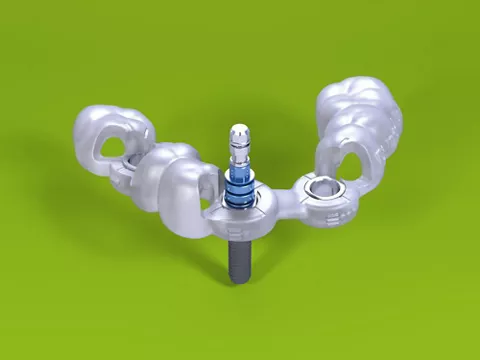
The patient opted for a complete maxillary denture supported by Dolder bars and 4 implants in the area 14, 12, 22, 24 (Straumann® Bone Level Roxolid® Implant). A drill template that allows fully guided implant insertion is required for optimal utilization of the existing bone stock. In a backward planning process, after DVT images were recorded the maximum possible angulation between implants and abutments was calculated. At the same time, the removal of a previously undiscovered root remnant in the area of 21 was planned. This had remained undetected to date due to the spinal overlap on the OPG (Fig. 1).
Surgical procedure
The printed drill template (BEGO) was prepared on the basis of the DVT findings, digital 3D planning of the implants (coDiagnostixTM) (Fig. 2) and digitalization of the plaster models, and the guide sleeves were polymerized in the template (Fig. 3). The root remnants were removed (Fig. 4), the gingiva was blanked off (Fig. 5) and the mucosal fragments removed (Fig. 6). The respective implant bed was then prepared and the drill template adjusted with fixing pins. In order to ensure the primary stability of the implants, and after lateral bone condensation through the guide sleeves with osteotomes (Fig. 7), the implant bed was prepared up to the planned implant diameter (Fig. 8). Tapping was deliberately avoided in this case in order to optimize stability. Following the guided insertion of the implants (Fig. 9), the flaps were closed and 1.5% chlorhexidine-digluconate gel was applied. The extraction site was managed with two interrupted sutures. At the follow-up visit after 10 days, both the extraction site and all 4 gingival incisions had healed satisfactorily.
Prosthetic procedure
After a healing period of 4 1/2 months, the implants were re-opened and gingival formers inserted. After 10 days, gum tissue had grown around the formers and an open impression was taken as the basis for subsequent management. The precision of the model was checked at a later visit using a plastic bar. This was followed by a try-in of the new denture in order to determine the exact amount of space available and, in particular, the maximum height of the bar. At the next visit, the fit of the milled Dolder bar was checked in order to prevent tension between the implants and to ensure an optimal fit of the new denture (Fig. 10). After final corrections were made to the tooth position, the denture was produced in plastic (Fig. 11). During the fitting of the complete denture, the occlusion was ground, and a decision was taken provisionally to insert only 2 of the 4 Preci attachments to make it easier for the patient to become accustomed to the denture. After a further 3 weeks all the internal components were fitted.
Final result
When DVT-assisted templates were used, the deviation of the implant was found to be 0.43 mm in position and 4 degrees in angulation. For operations with templates that rest on the mucosa, a deviation of 0.7 – 0.9 mm is reported, whereas teeth-supported drill templates show a higher degree of precision. In this operation, the average angular deviation was 1.78 degrees, while the average 3D offset at the implant base and implant tip was 0.63 mm and 0.89 mm respectively, i.e. within the desired range. This was checked using the treatment evaluation tool (coDiagnostix) (Fig. 12).
Conclusion
Backwards planning as an essential element, digital planning and guided implantation with a printed drill template facilitated the precise, adequate positioning of the implants. This is a method which, under supervision and regardless of the clinical experience of the dentist, can lead to a predictable, satisfactory result.