First published in SWISS DENTAL JOURNAL SSO VOL 130 (9) P 2020 – Link
Initial Situation
A 61-year-old healthy man was referred to the Bellevue dental office in Bern/Switzerland for prosthetic rehabilitation in the maxilla and mandible. The patient primarily wanted to restore his masticatory function and improve his esthetic appearance. He was looking for a reliable long-term solution. The patient had no general medical restrictions and was a non-smoker. At the time of the first clinical examination, the patient presented with a few root remnants in the mandible and two remaining wisdom teeth in the maxilla. The main objective was to improve both his chewing function and the stability of the prosthesis, and to achieve a long-term stable solution without invasive surgeries, as he had suffered bad experiences with previous dental procedures, which made him extremely anxious.
Treatment planning
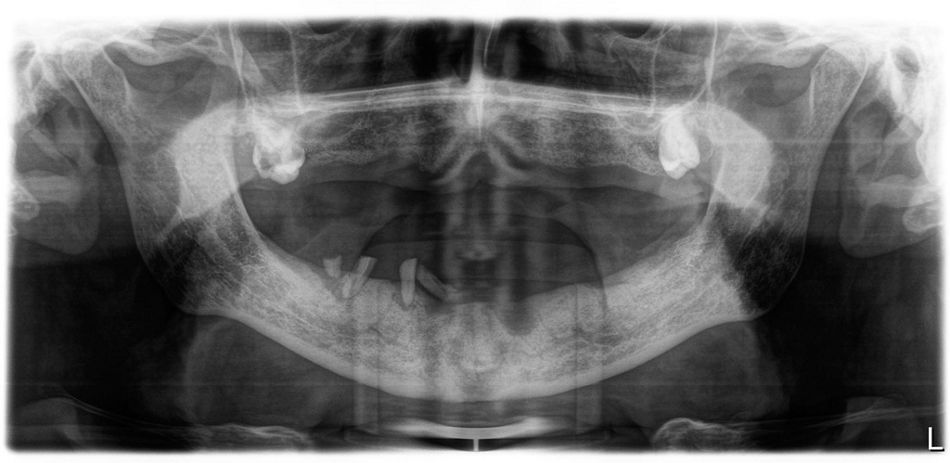
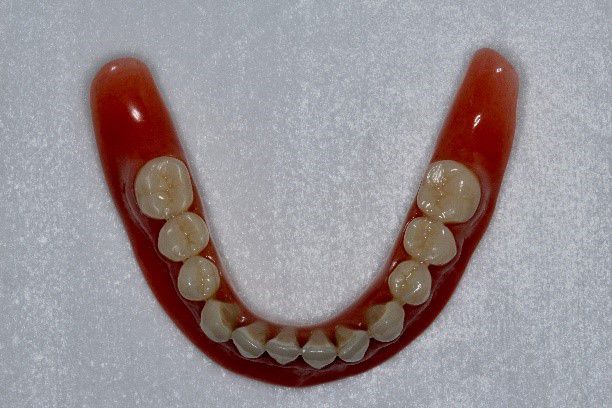
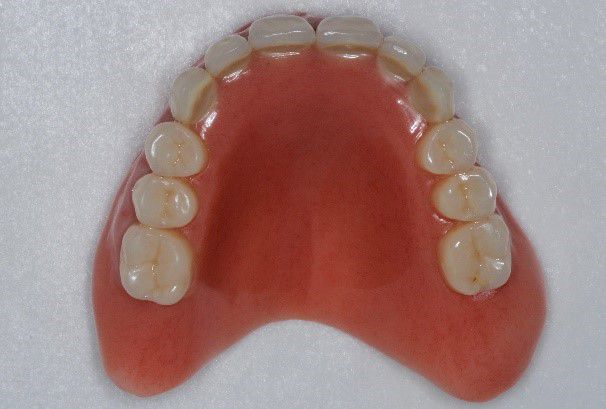
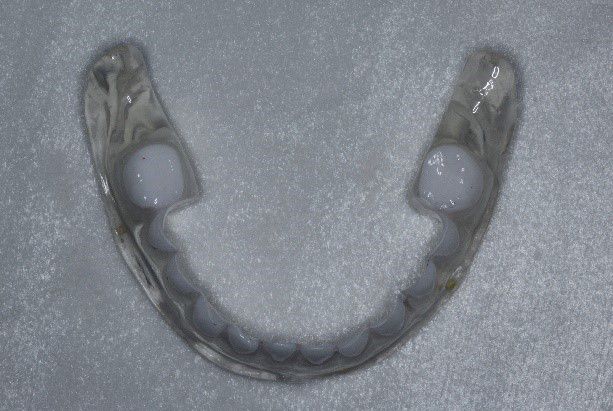
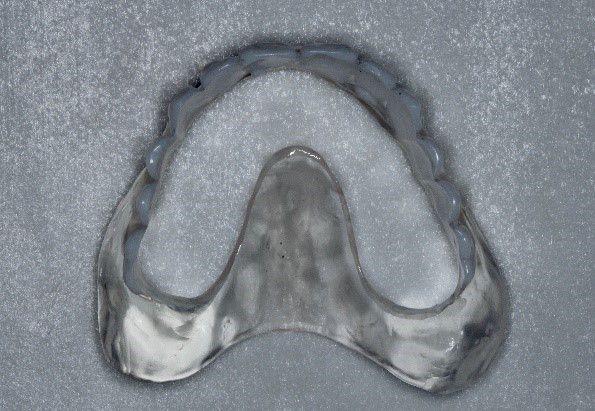
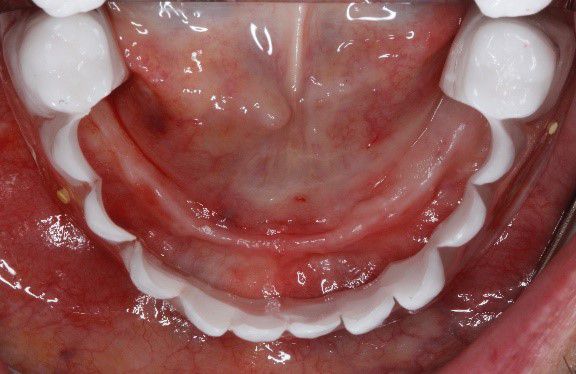
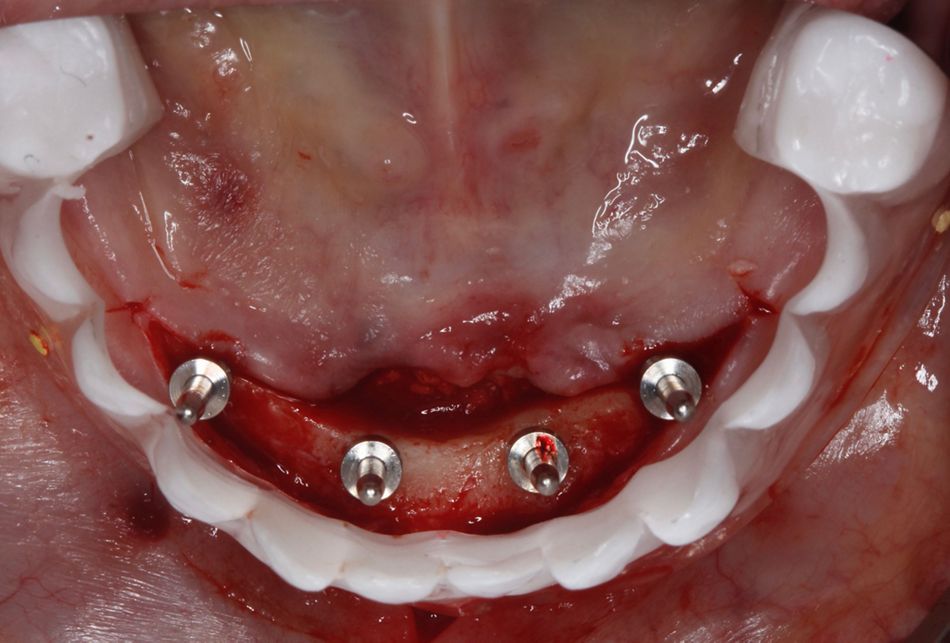
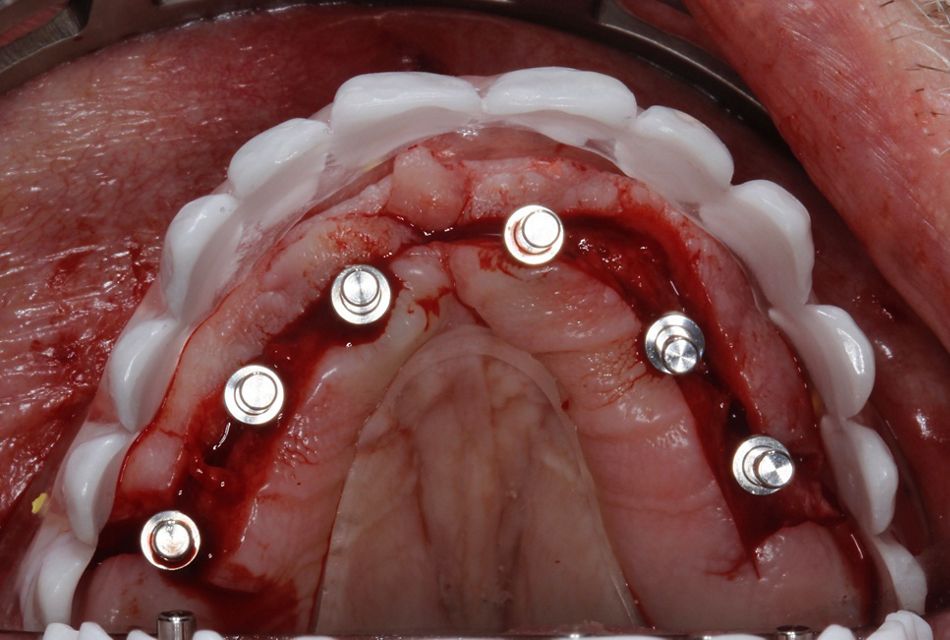
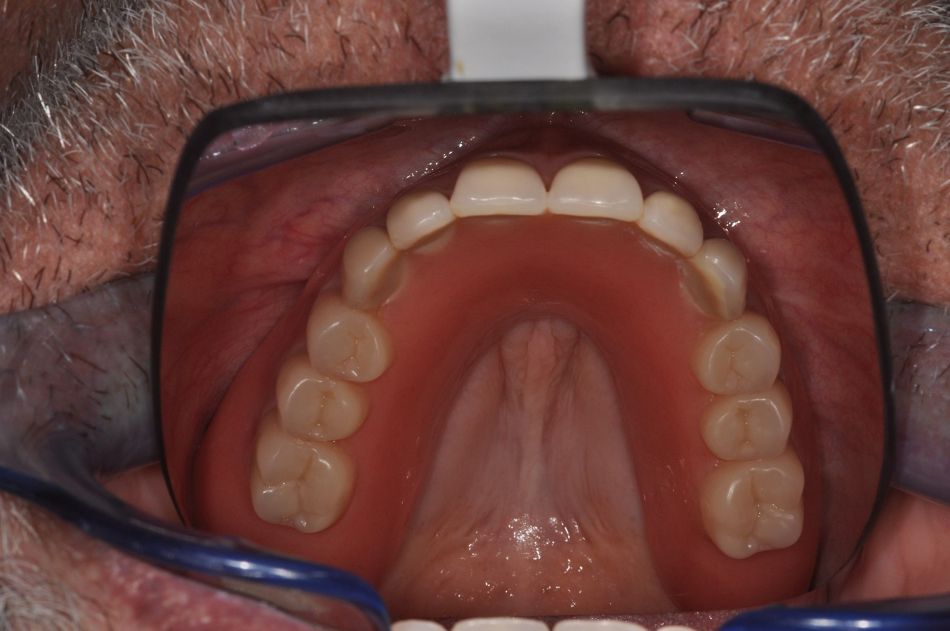
The residual roots were first removed together with tooth 18. The asymptomatic impacted wisdom tooth 28 was left in place (Fig. 1). After four months of healing time and adequate hard and soft tissue formation, new dentures were fabricated according to the Gerber concept with a bilateral balanced lingualized occlusion (Figs. 2-3). The new dentures were then duplicated with transparent acrylic and radiopaque teeth made of barium sulfate, which served as reference points for the planned implant positions (Figs. 4-5) during the three-dimensional data acquisition. This meant that the final surgical intervention could be digitally planned, based on all anatomical and prosthetic information, following the recommended workflow by Straumann, with the insertion of six implants in the maxilla and four in the mandible.
Afterwards, the same duplicated dentures were used as a surgical guide during implant placement.
Surgical procedure
SLA® one-piece self-tapping Straumann® Mini Implants made of Roxolid®, with a diameter of 2.4 mm and a length of 10 mm, were placed in both arches at the same surgical stage. This implant system uses an integrated Optiloc® anchor for denture connection, meaning that the implants are not submerged during healing, allowing immediate loading.
A transparent guide was used to ensure that the planned implants adequately matched the anatomy (Fig. 6).
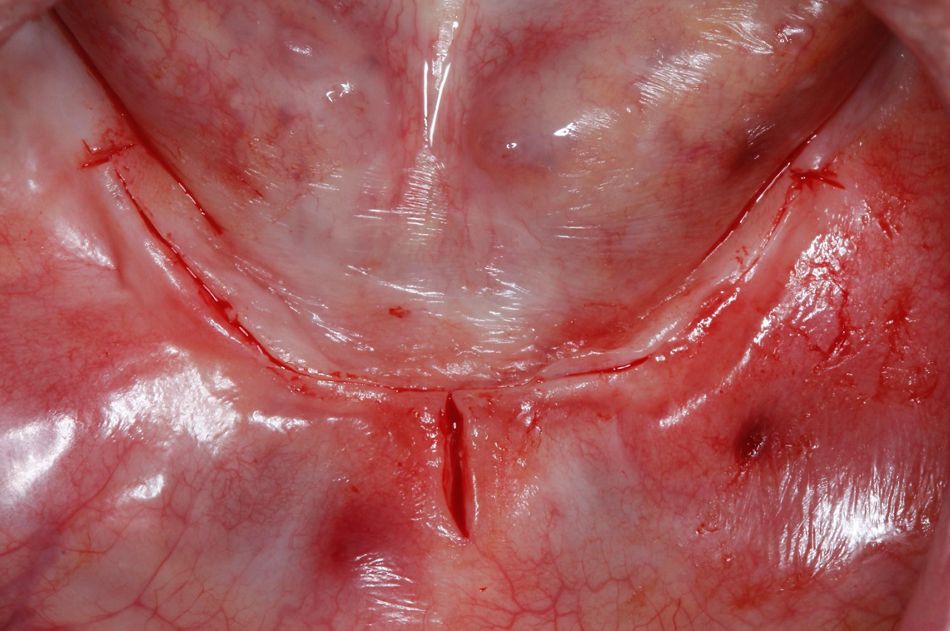
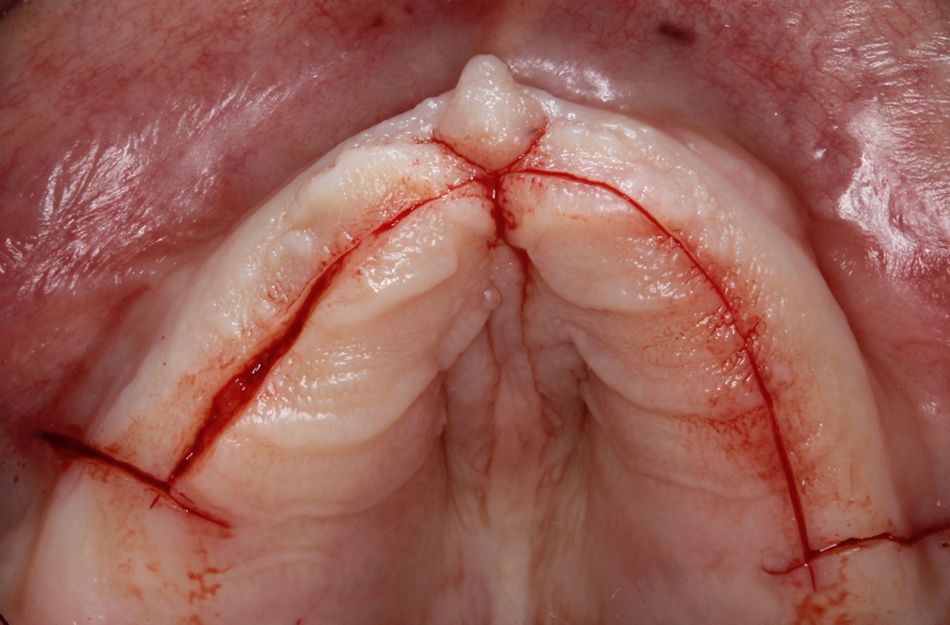
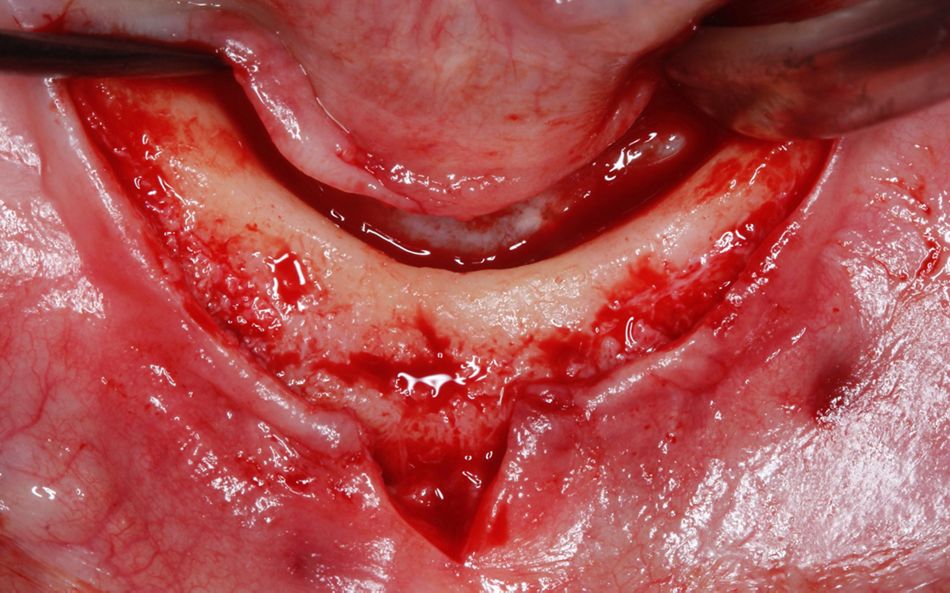
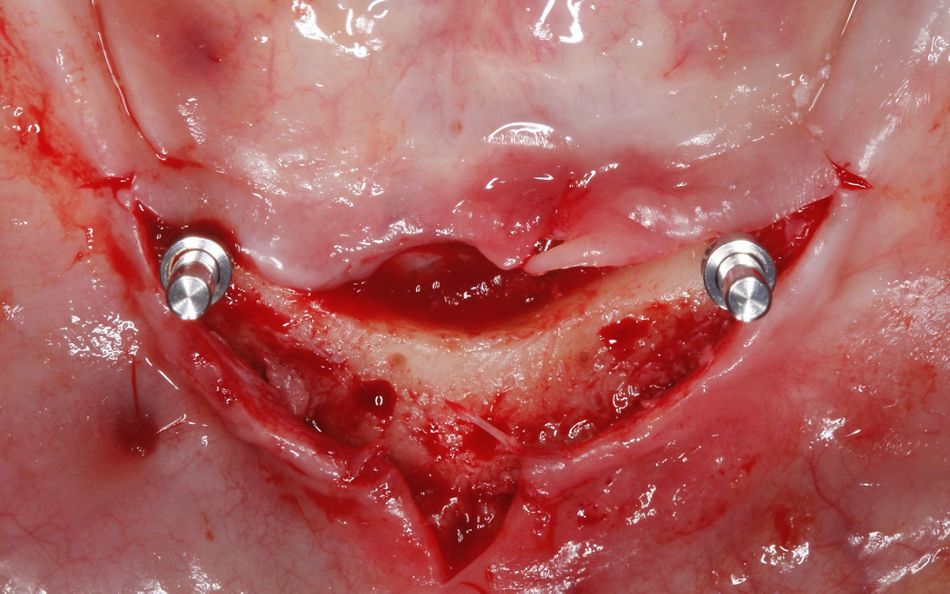
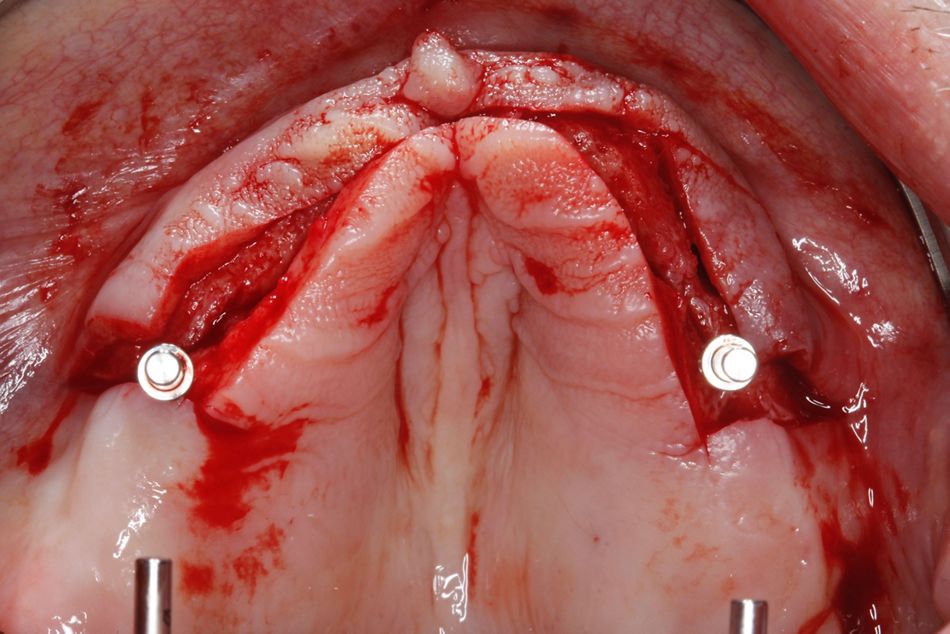
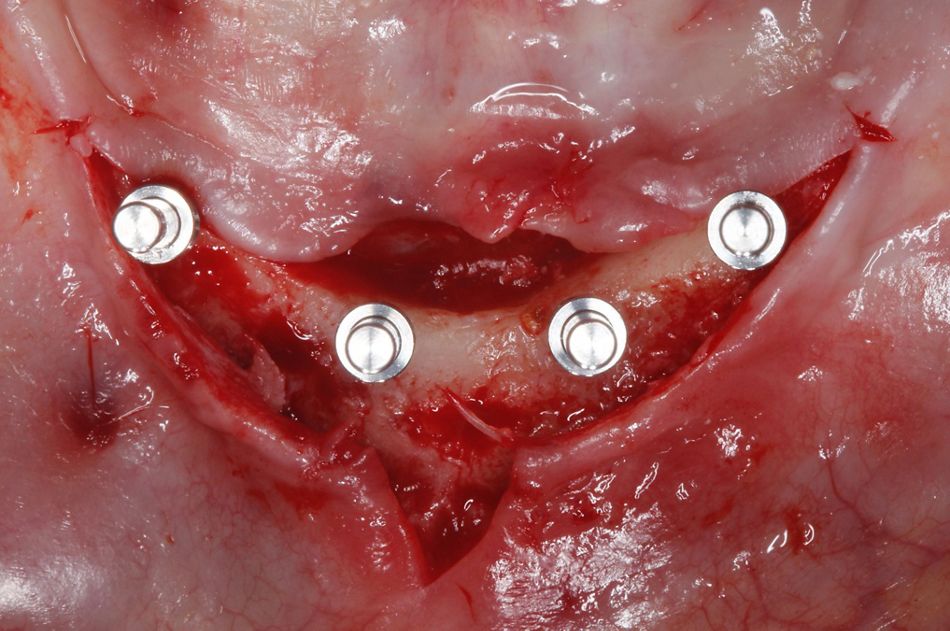
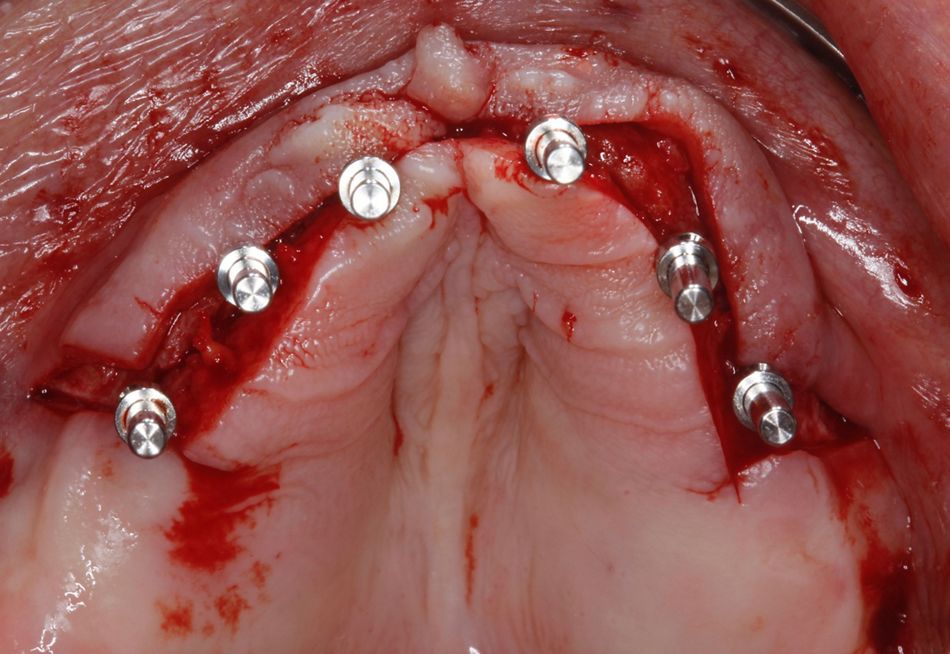
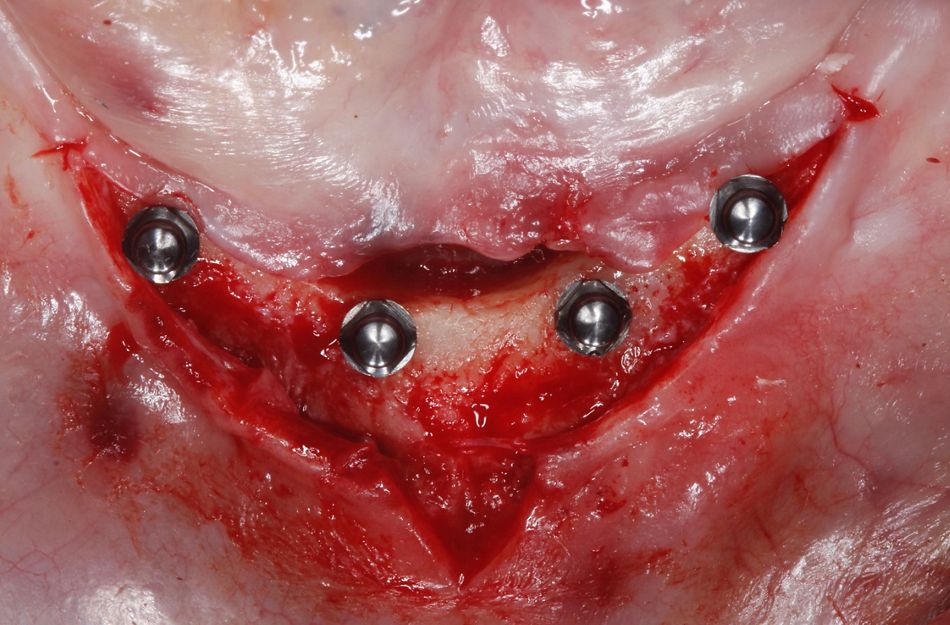
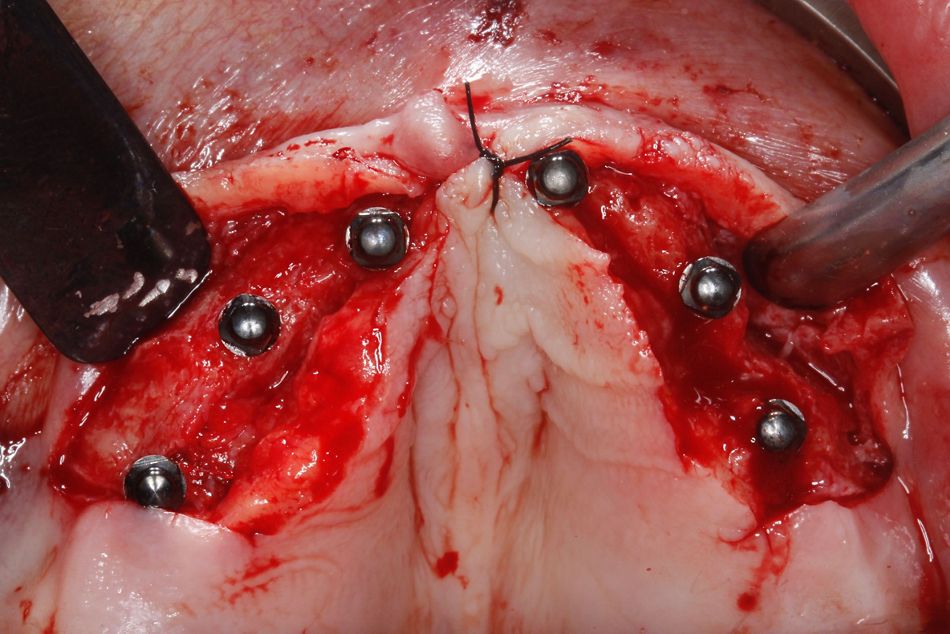
Prior to the surgical procedure, the patient received a single preoperative dose of oral antibiotics (1750 mg amoxicillin and 250 mg clavulanic acid). The surgery was performed under local anesthesia (Ubistesin forte, articaine 4% and epinephrine 1:100,000, 3M ESPE). A crestal incision in the region of the premolars was performed, followed by a midline-releasing incision in the mandible (Figs. 7-8). In the maxilla, the incision extended from region 16 to 26, with two distal releasing incisions to provide more freedom for raising a tension-free flap.
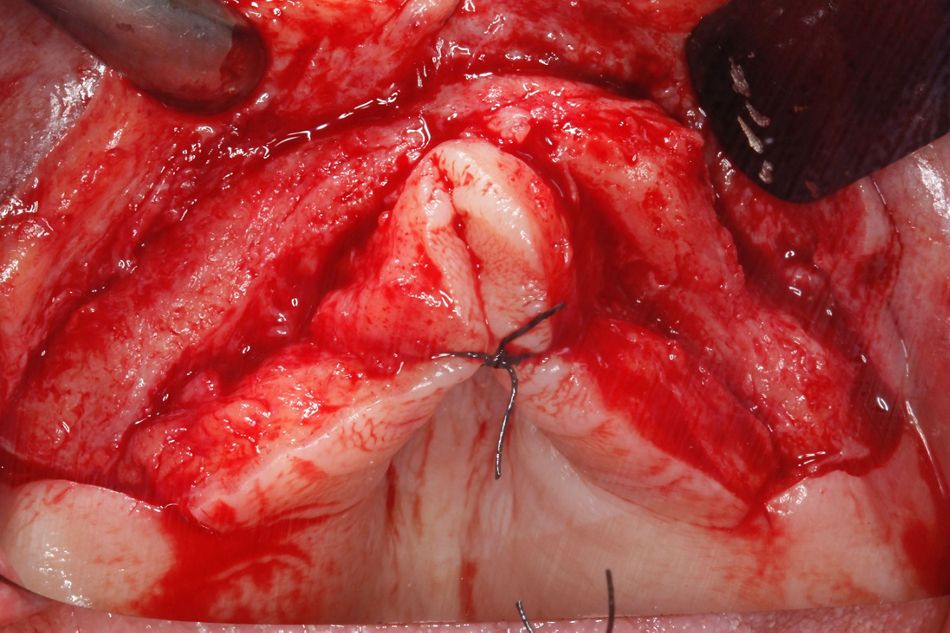
A full-thickness flap (mucoperiosteal) was carefully raised, cautiously exposing all the areas planned to receive implants (Figs. 9,10). The mental nerve in the mandible was not exposed during surgery.
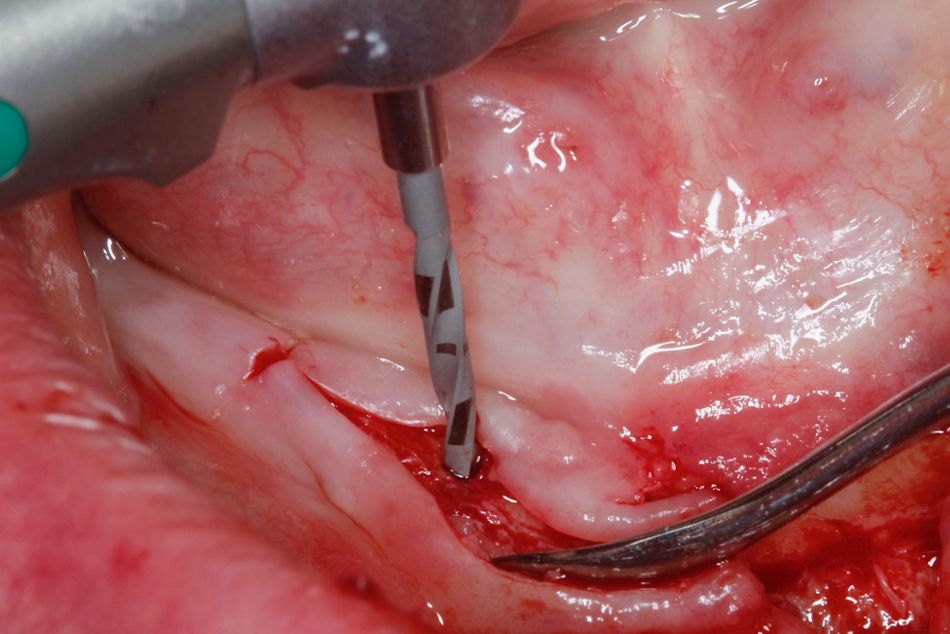
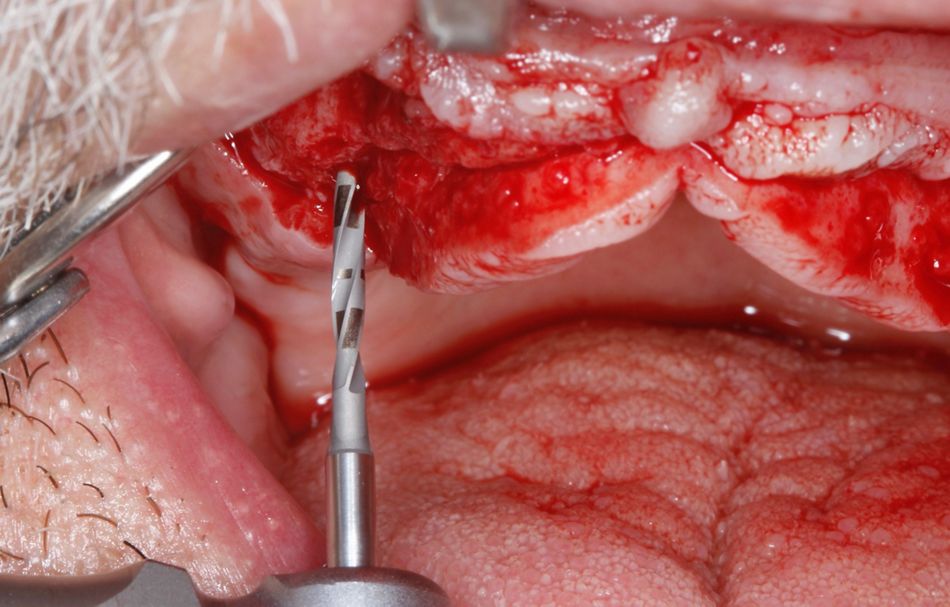
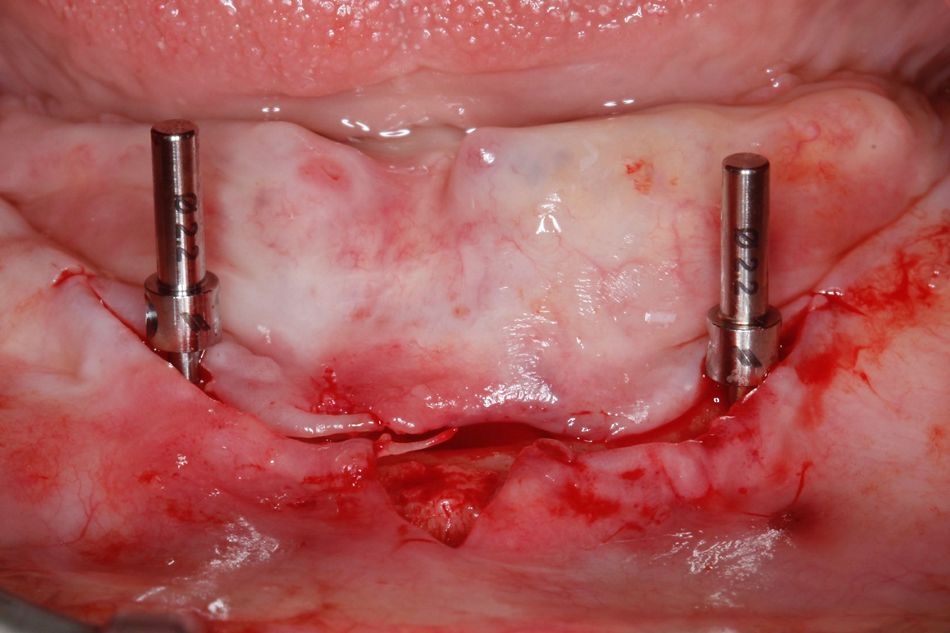
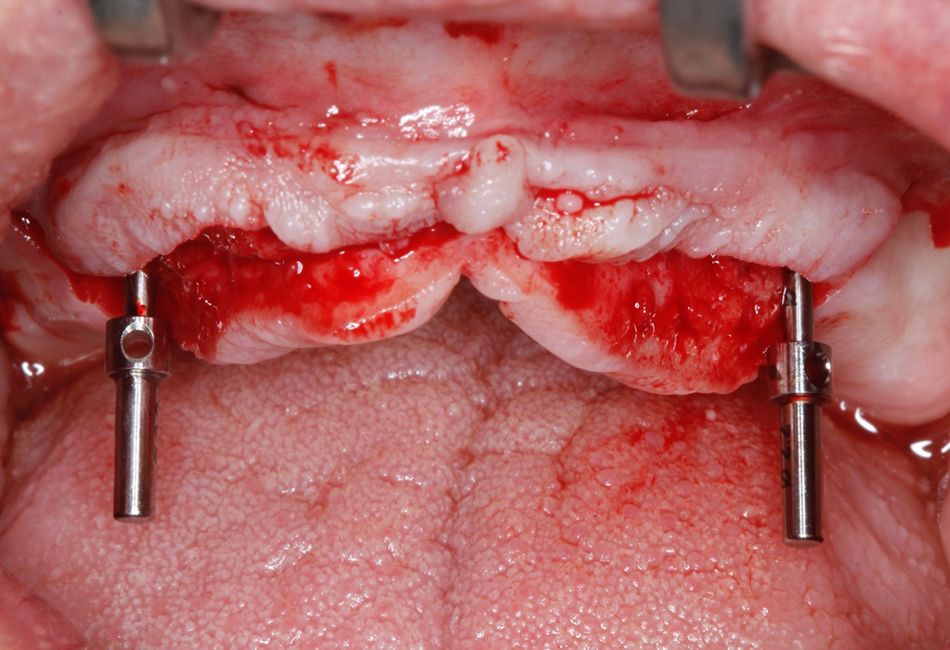
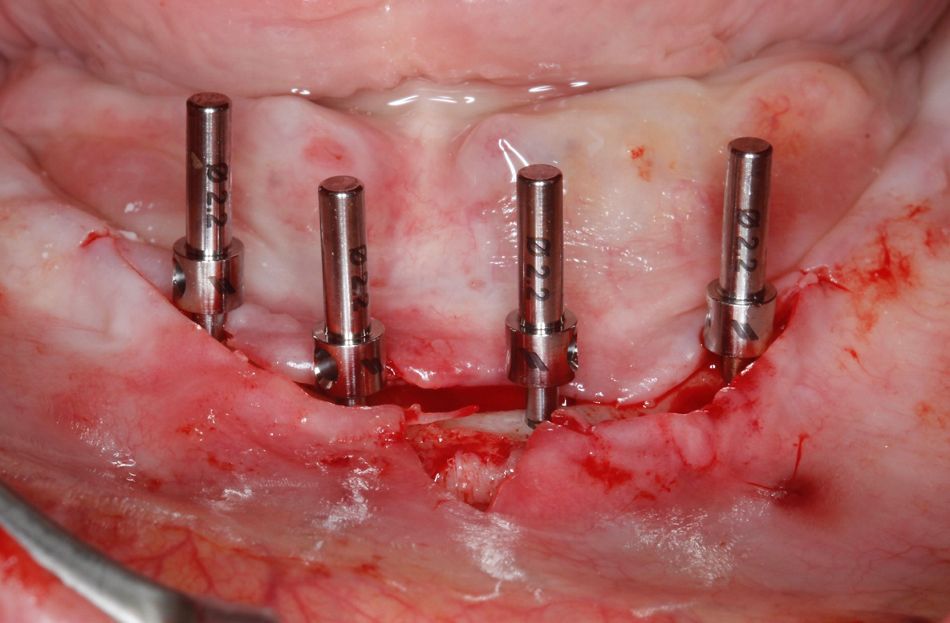
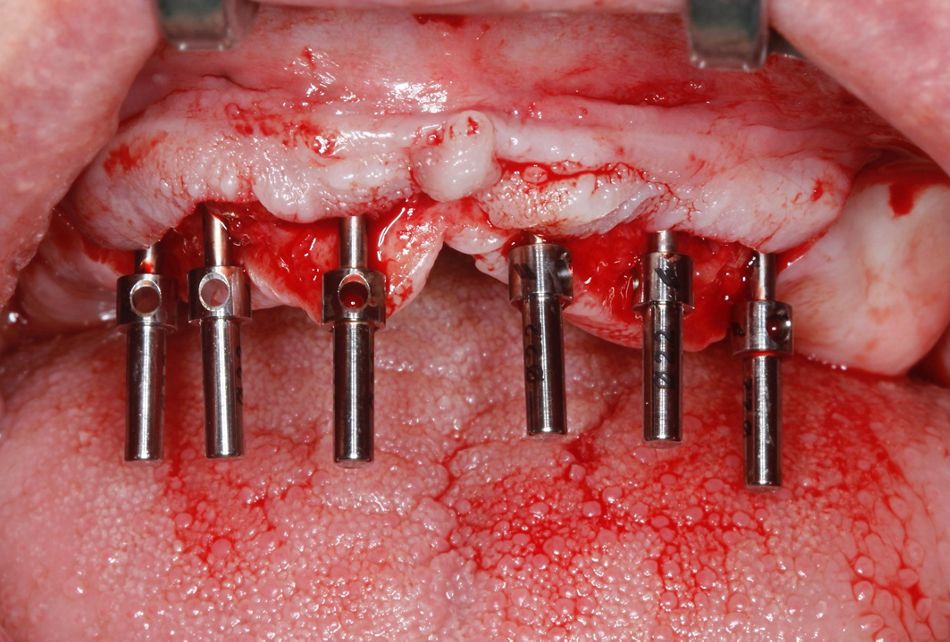
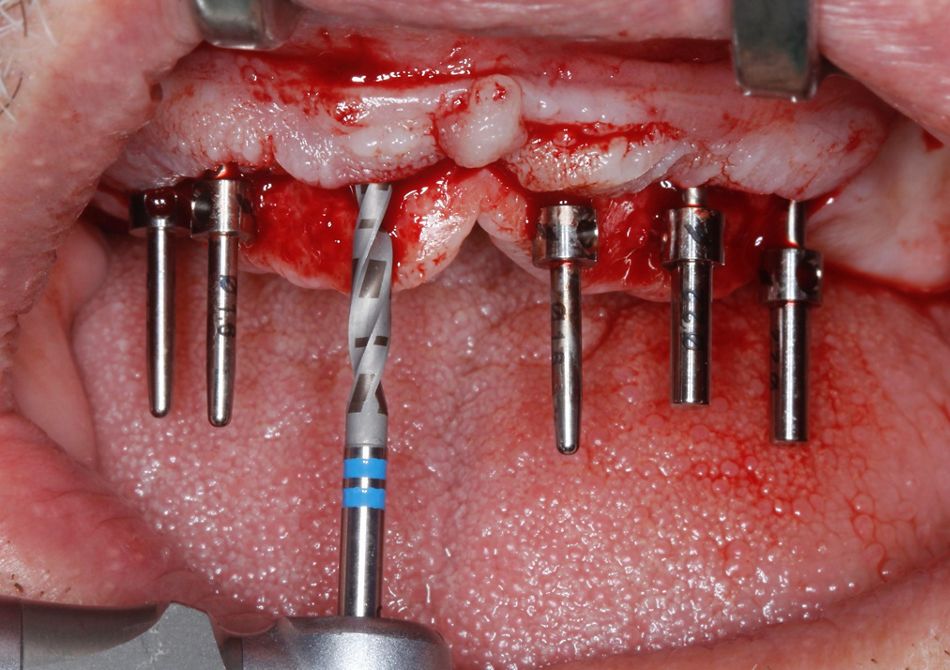
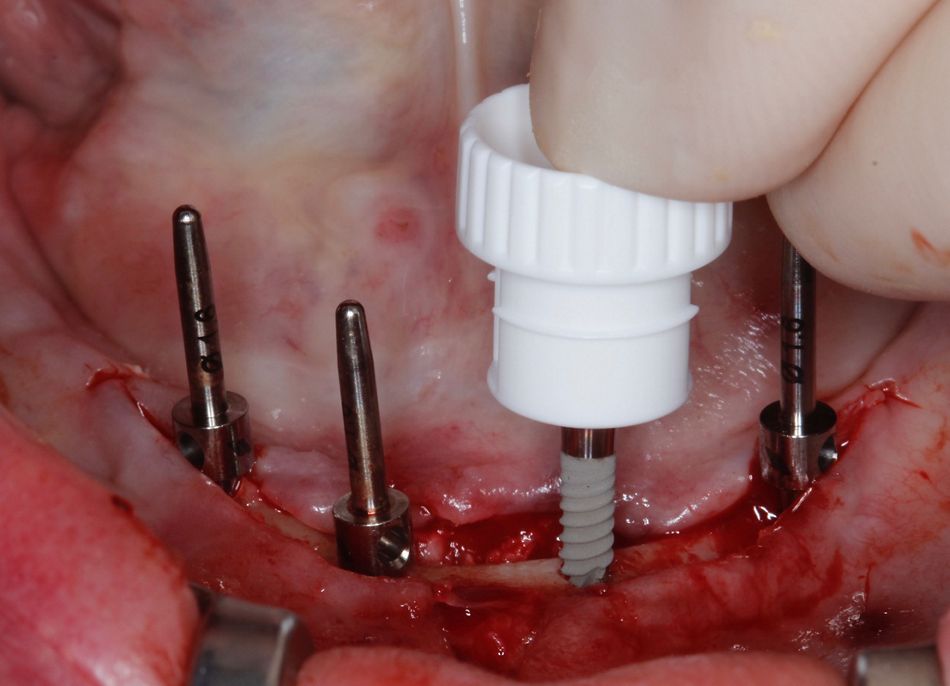
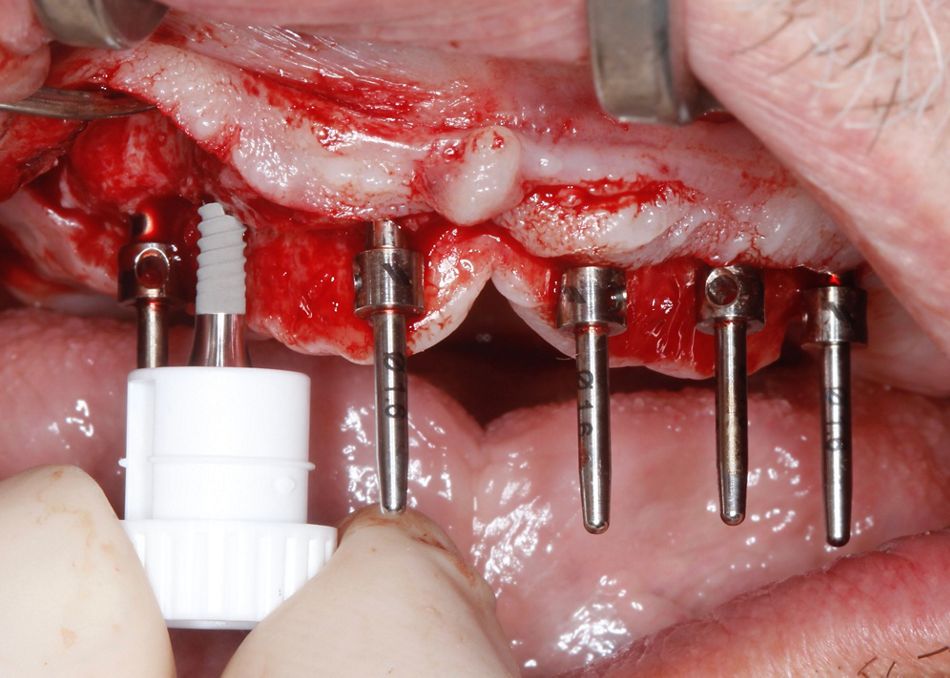
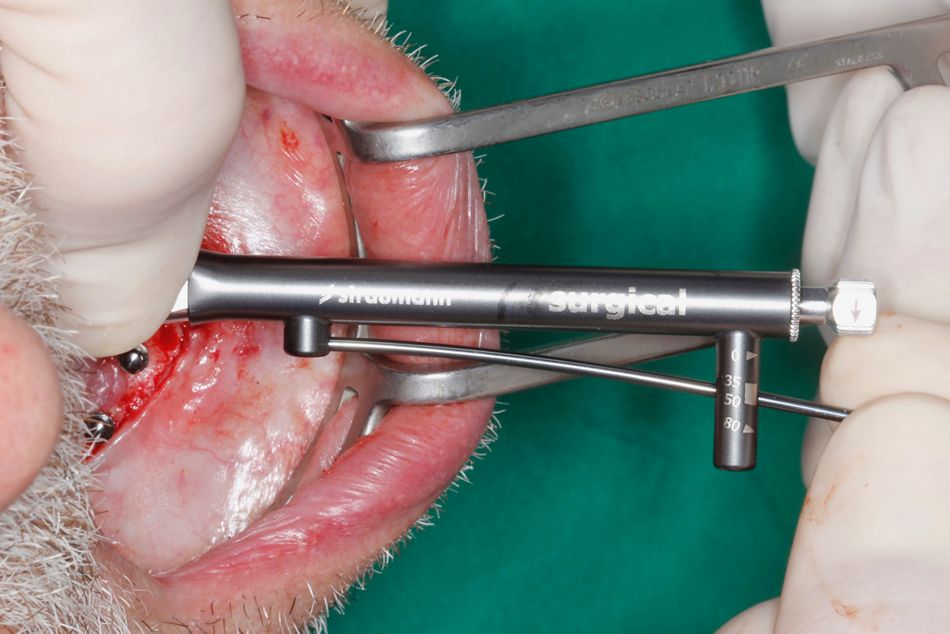
An osteotomy with the use of needle drill ⌀ 1.6 mm started by the distal sites to perforate the cortical crestal bone to ensure adequate distribution of the implants in both jaws. The most posterior implant in the mandible was placed approximately 5 mm anterior to the mental foramen. The three-dimensional position of the implants was assessed with parallel pins using the ⌀ 1.6 mm side during surgery (Figs. 11-12). Since optimal positioning is critical, the parallel pins were kept in position to serve as alignment reference for the additional osteotomy in the anterior region, which was followed by confirmation of all sites using alignment pins (Figs. 13-20).
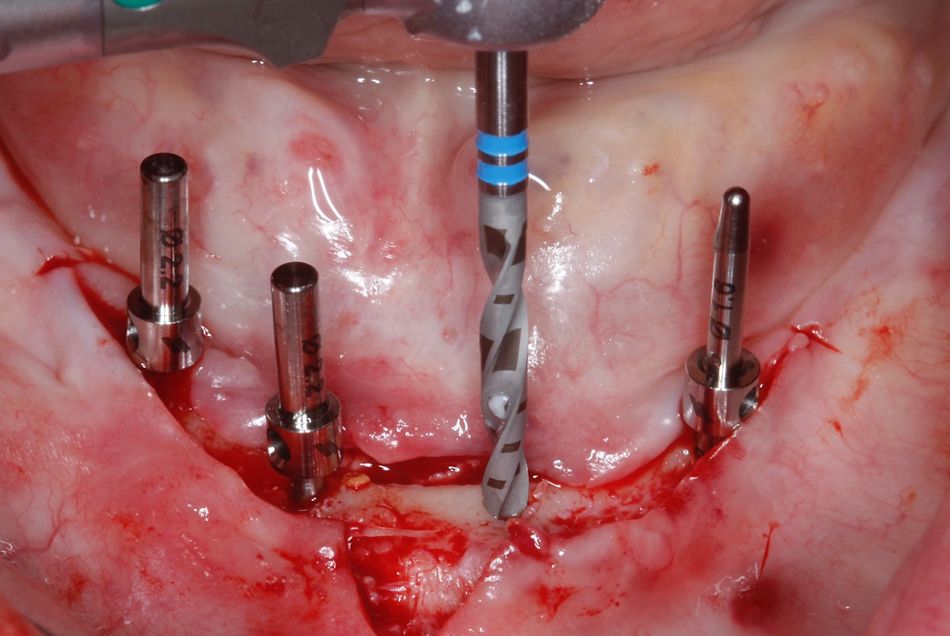
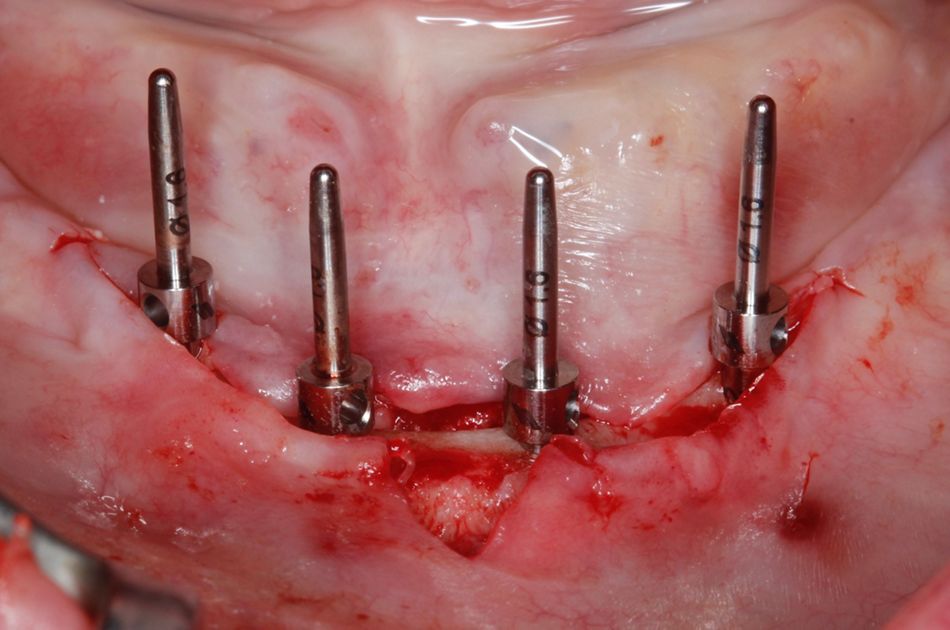
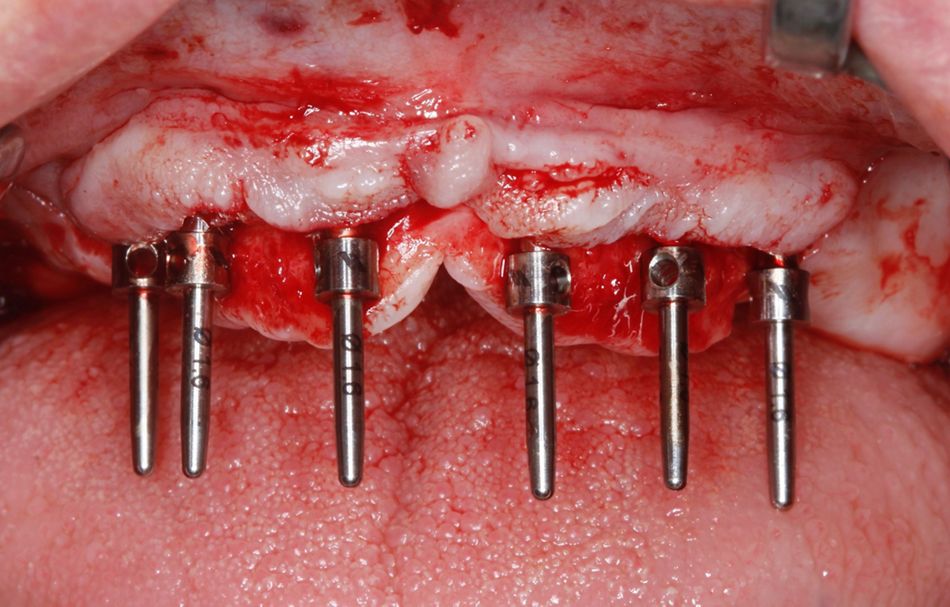
Since the crestal bone was hard, the implant bed preparation continued with the use of a pilot drill (⌀ 2.2 mm) down to a depth of just 6 mm to avoid potential compression of the bone (Figs. 21-22). The parallel pins with the ⌀ 2.2 mm side was again used to make sure that all implants axis were still in the optimal position (Figs. 23-26).
The vial cap that comes attached to the Optiloc® retention system serves as the implant insertion tool. This vial cap is released when 5 Ncm of insertion torque is reached (Figs. 27-28). All implants were then placed using the handpiece, and finally positioned using the ratchet.
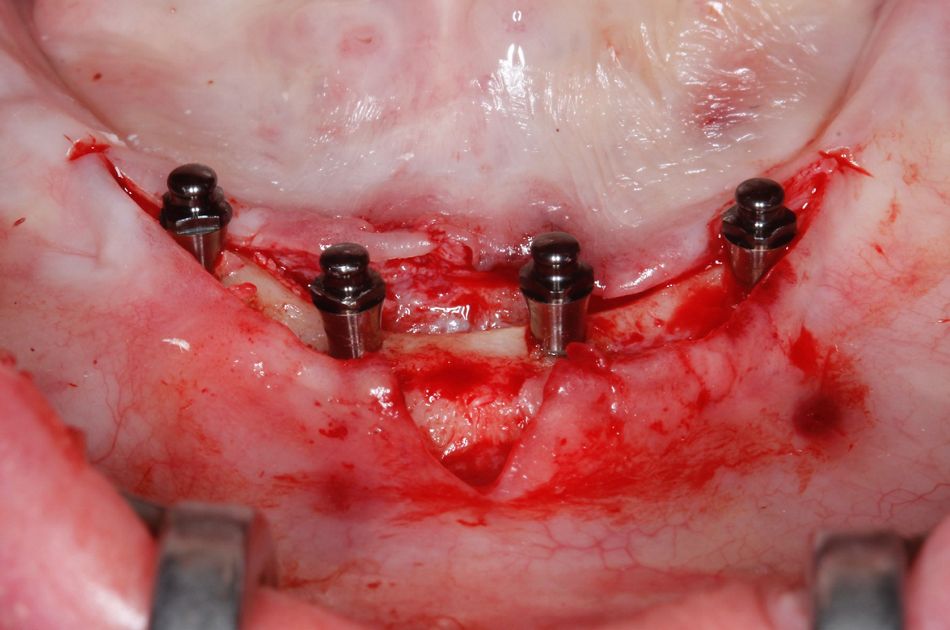
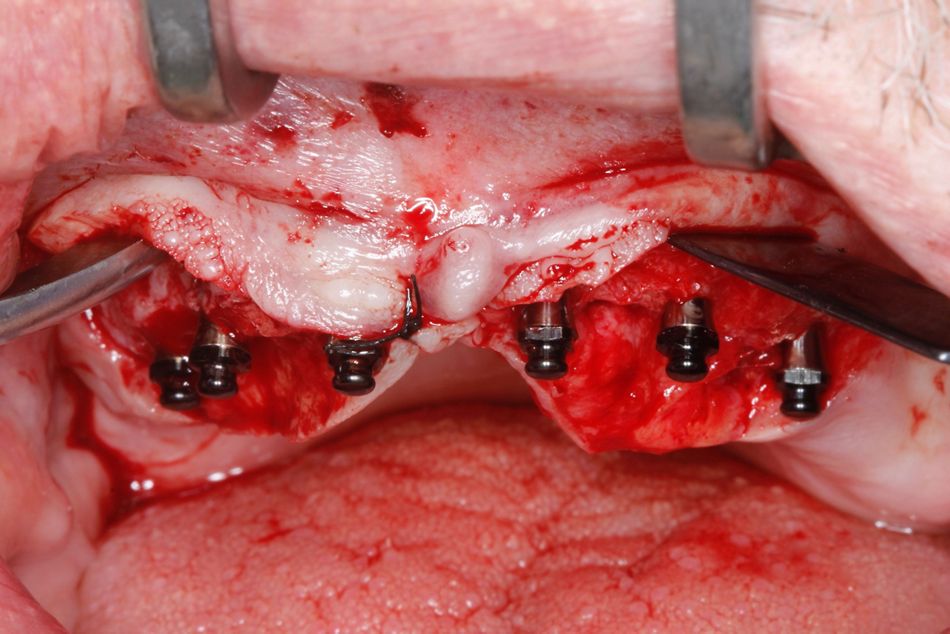
A minimum primary stability of 35 Ncm was reached in all implant sites, providing confidence to proceed with the immediate prosthetic procedures and loading protocols (Figs. 29-33).
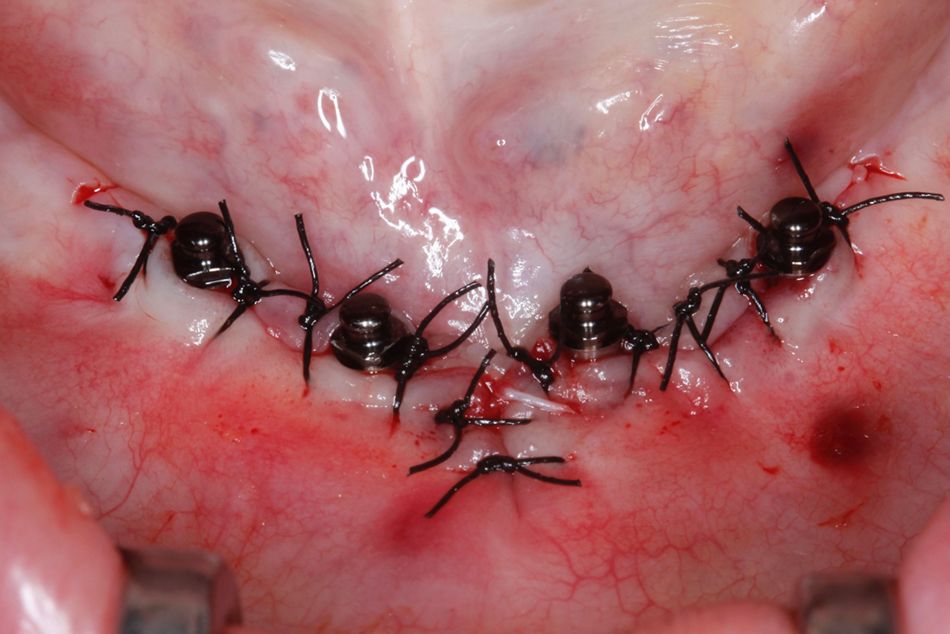
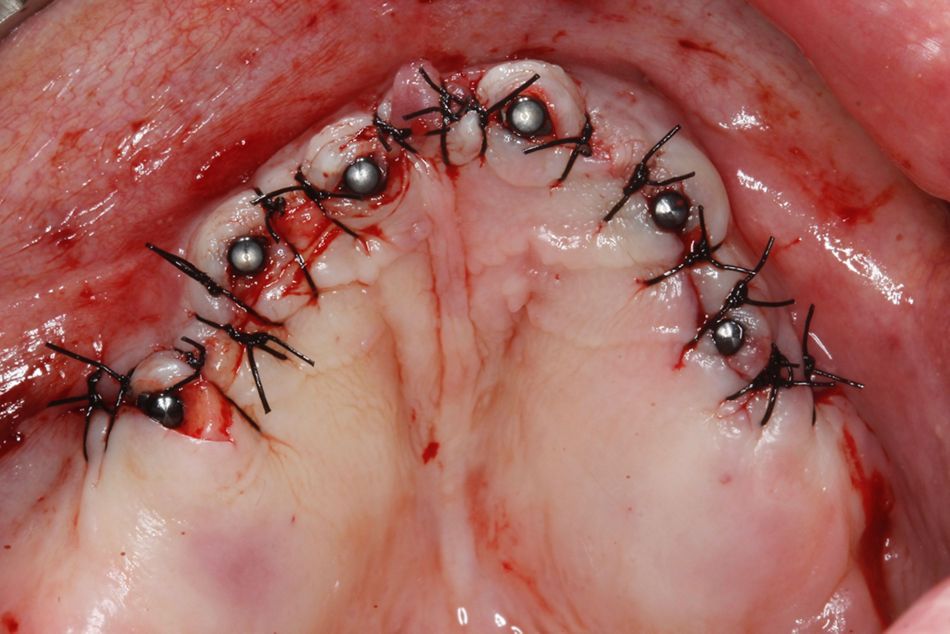
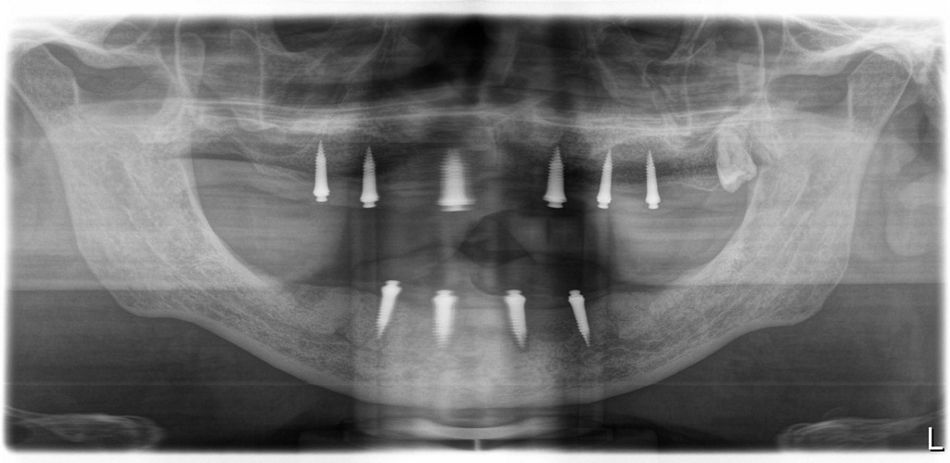
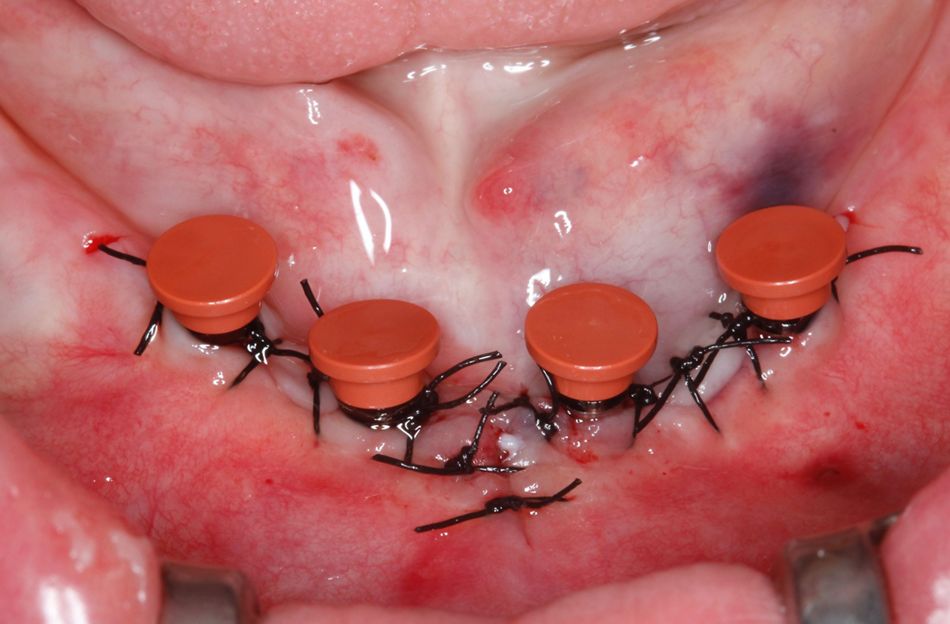
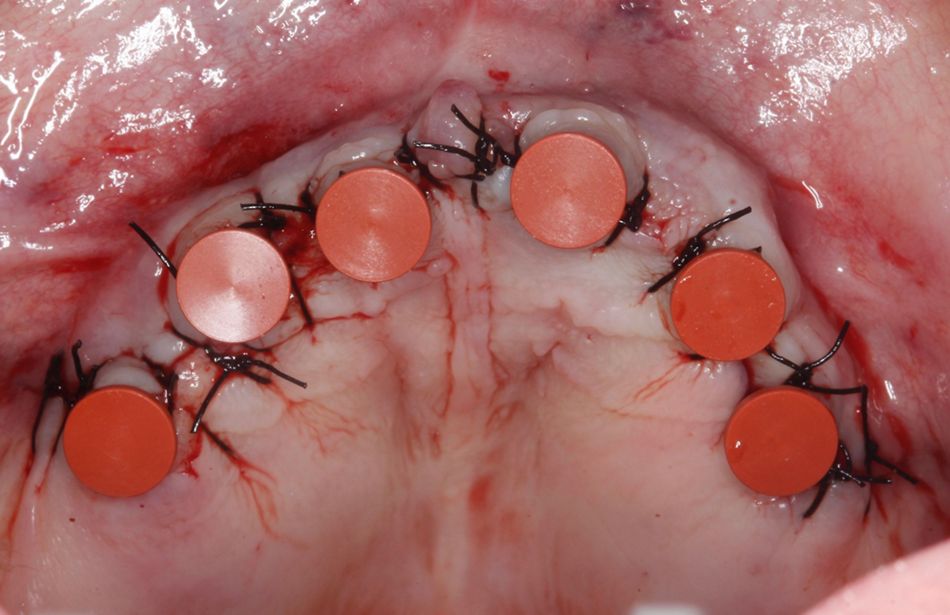
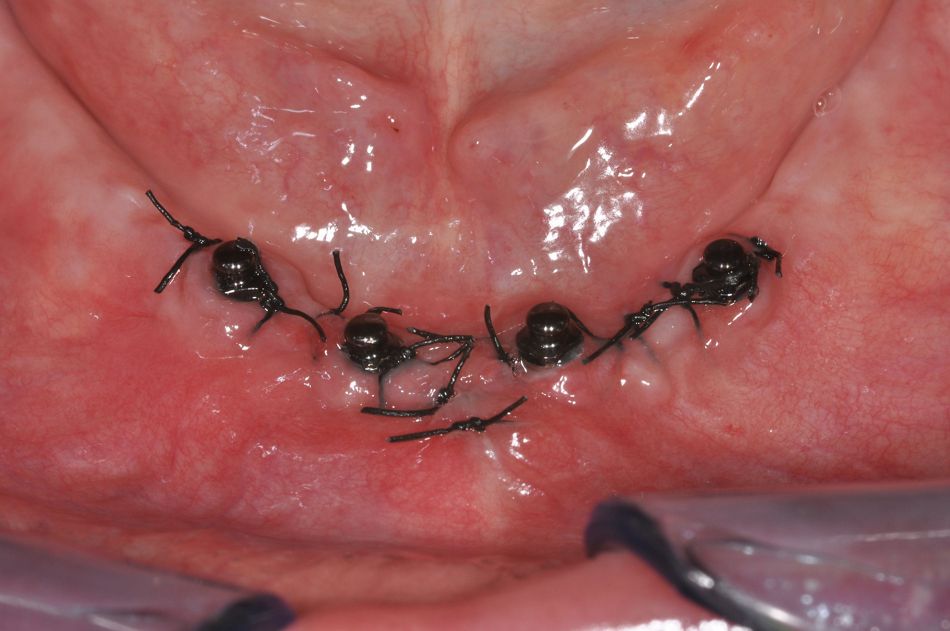
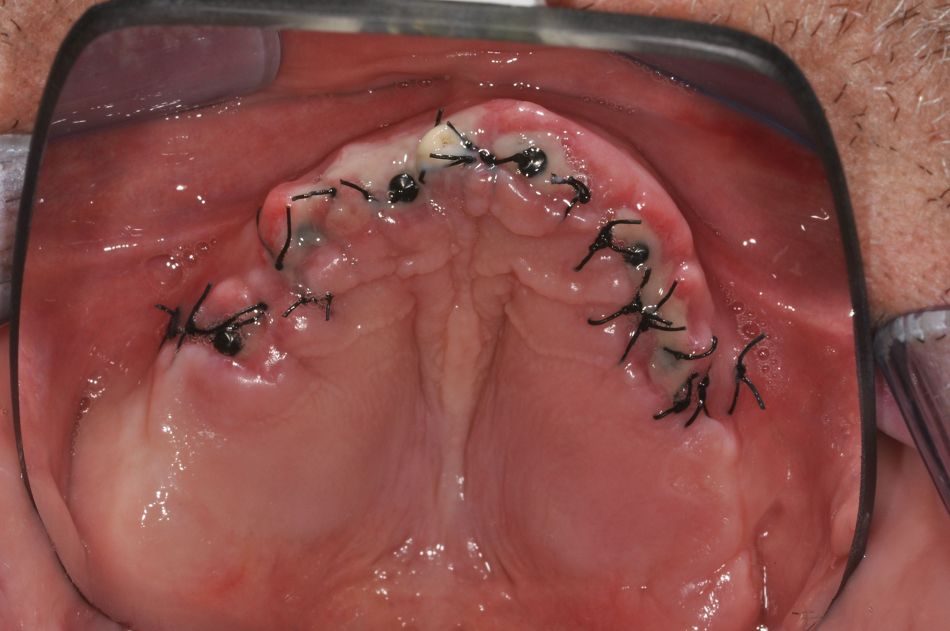
A sufficient number of interrupted sutures were used to close the flaps on both arches (Figs. 34-35). An adequate distribution of the 10 Straumann® Mini Implants was observed on the postoperative radiograph (Fig. 36). The postoperative medication included rinsing with an antiseptic solution (for 1 minute with chlorhexidine 0.2% twice a day for one week) and painkillers (ibuprofen 600 mg up to four times a day as required). No postoperative antibiotics were needed.
Prosthetic procedure
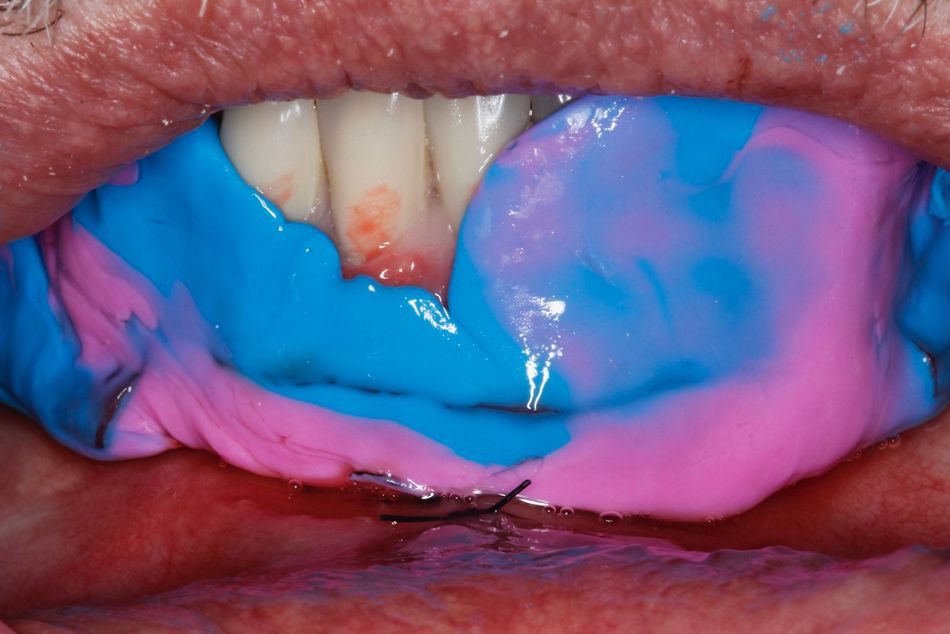
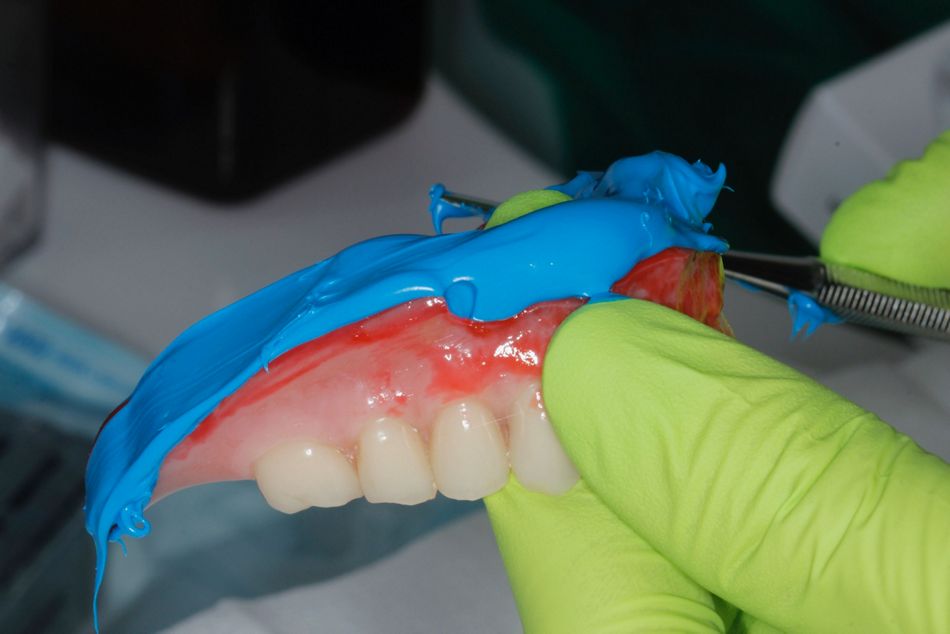
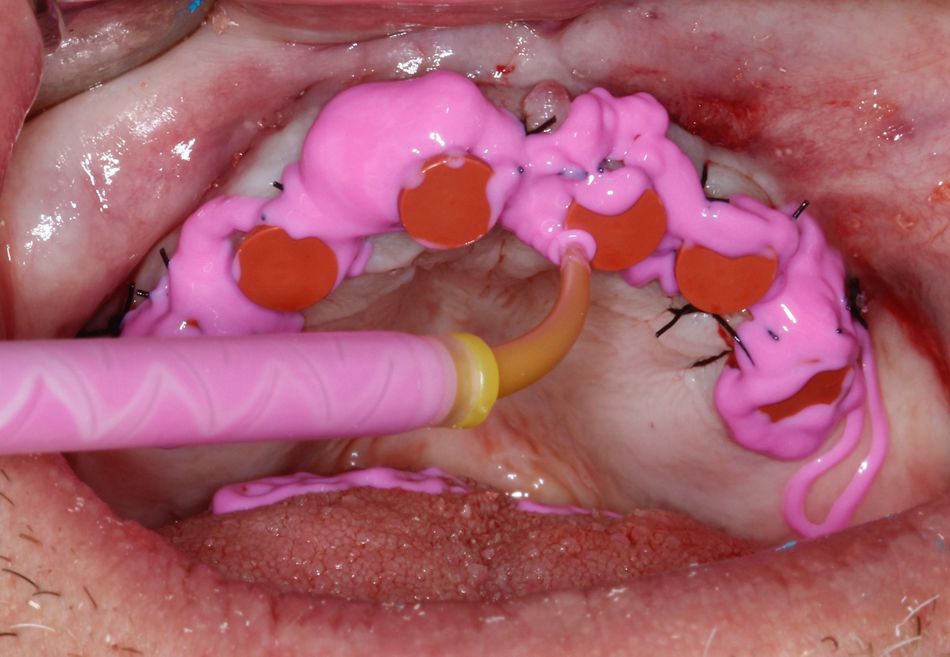
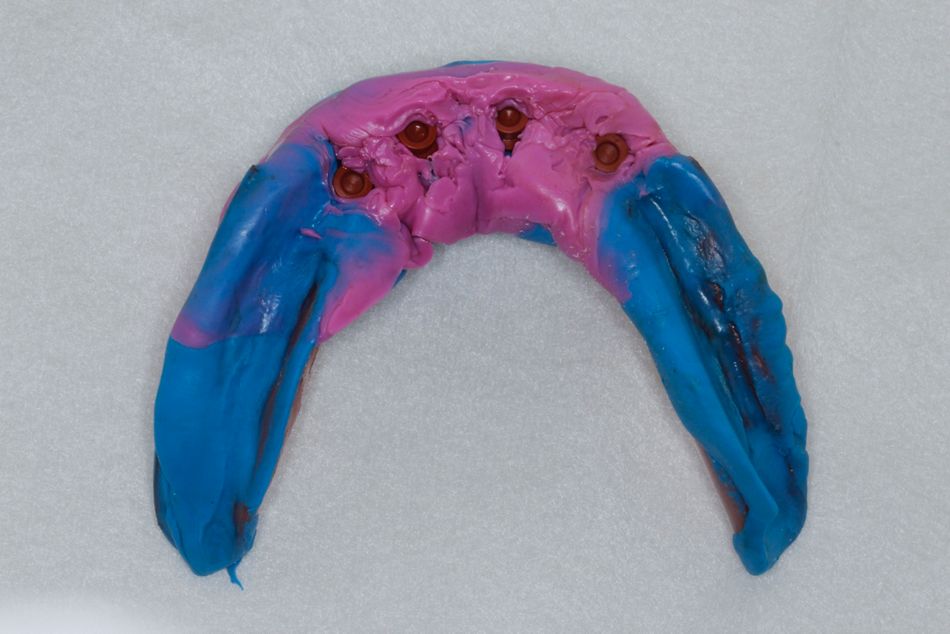
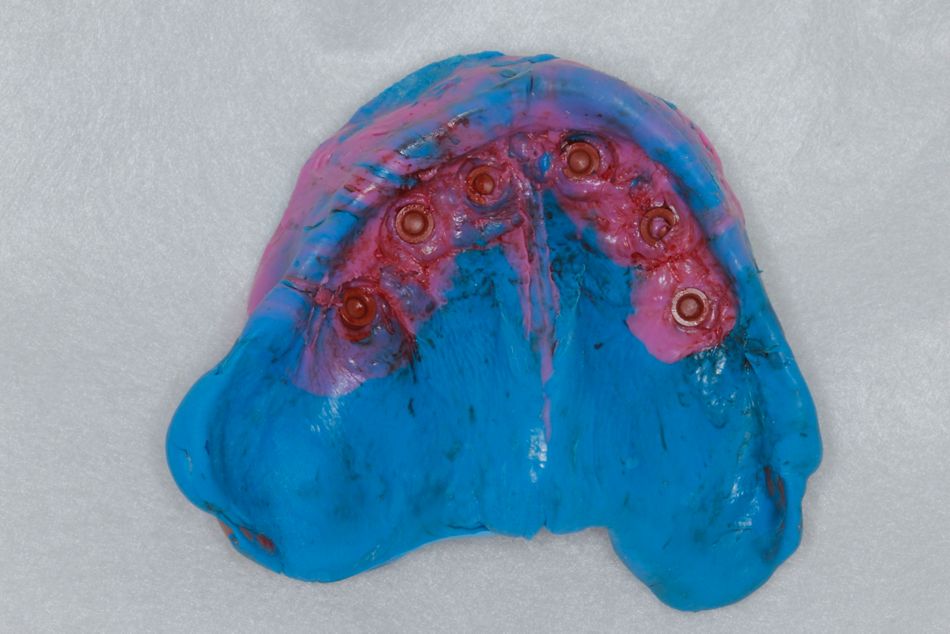
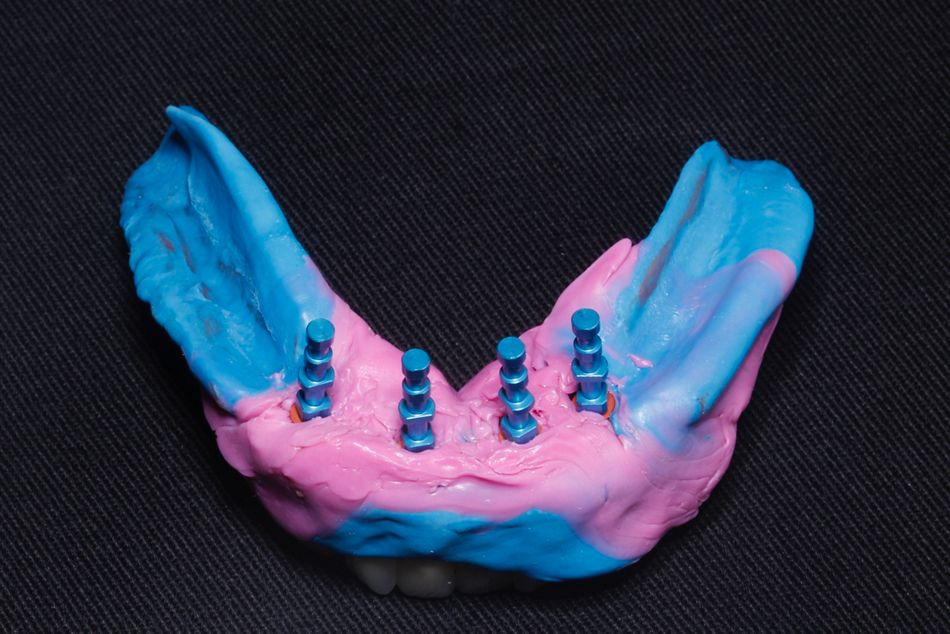
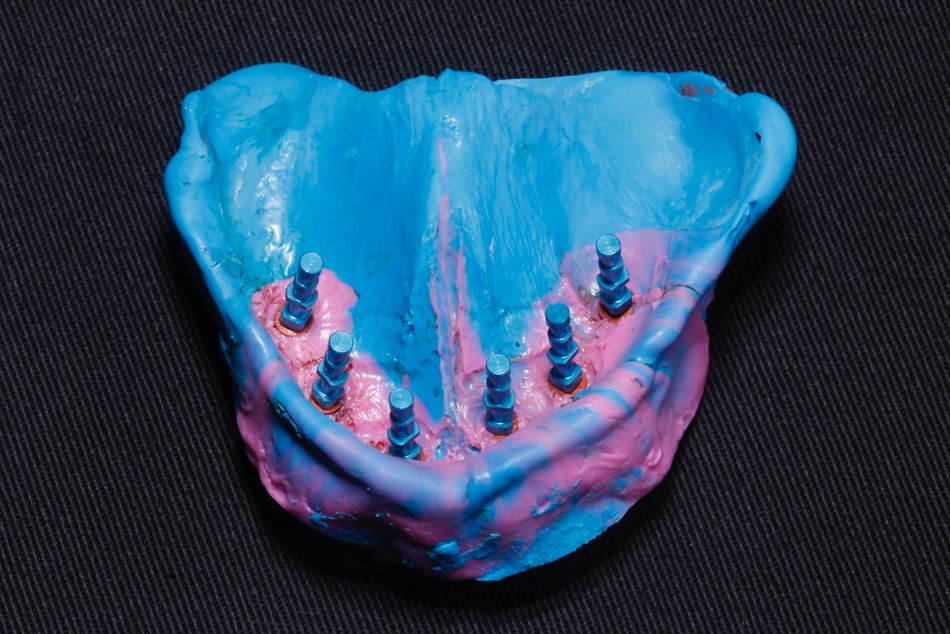
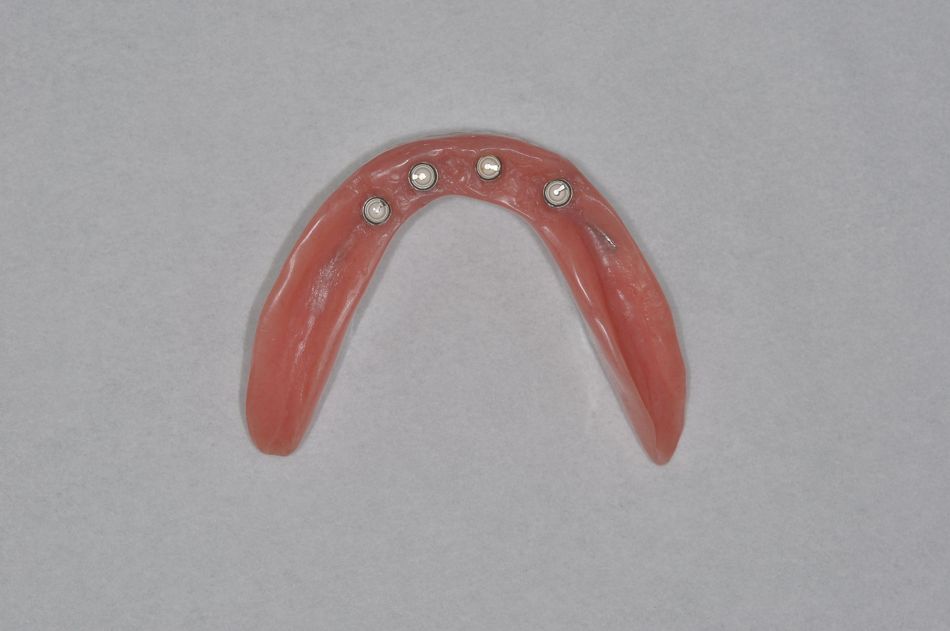
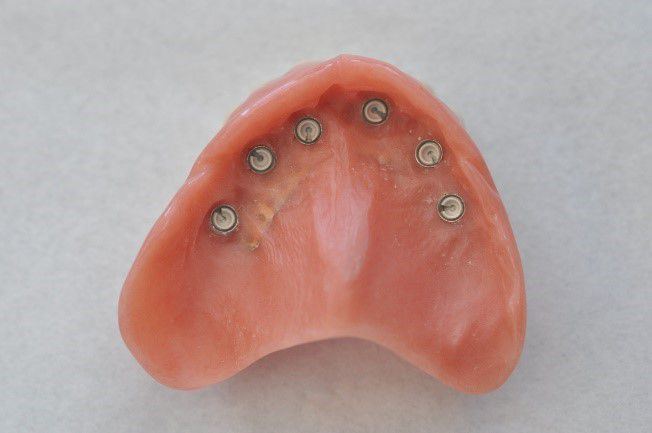
Directly after completion of the surgery, a relief area was created on the inner surfaces of the existing upper and lower complete dentures in the region of the placed implants so that the dentures could be converted into implant-supported prostheses at the time of surgery. Impression caps were positioned on all implants prior to the impression taking. A relining impression was taken with a vinyl polysiloxane material (ImprintTM 4, 3M ESPE) using the dentures as a tray (Figs. 37-43).
The impression was taken in centric occlusion to ensure that the occlusal information could be properly captured and transmitted.
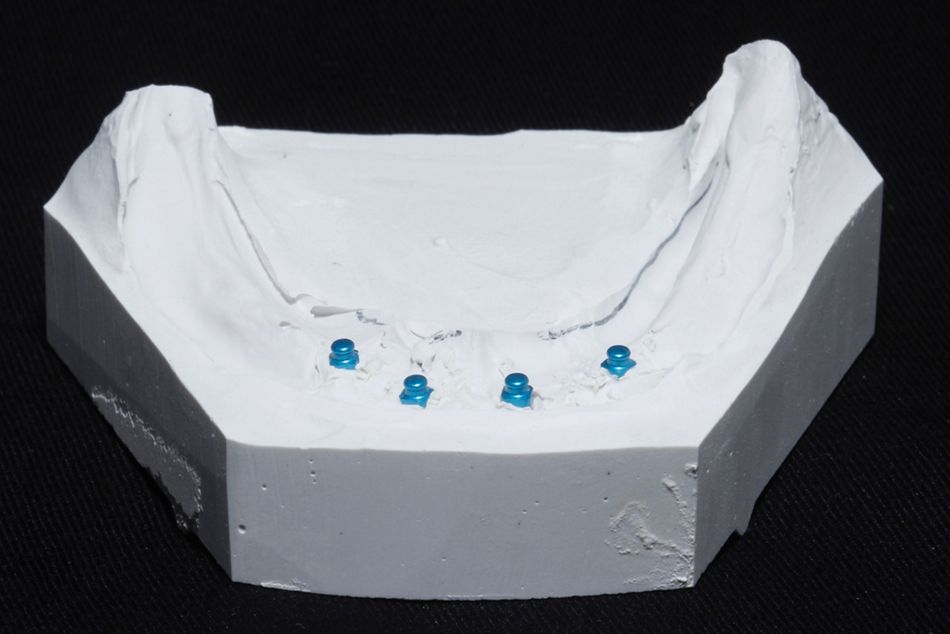
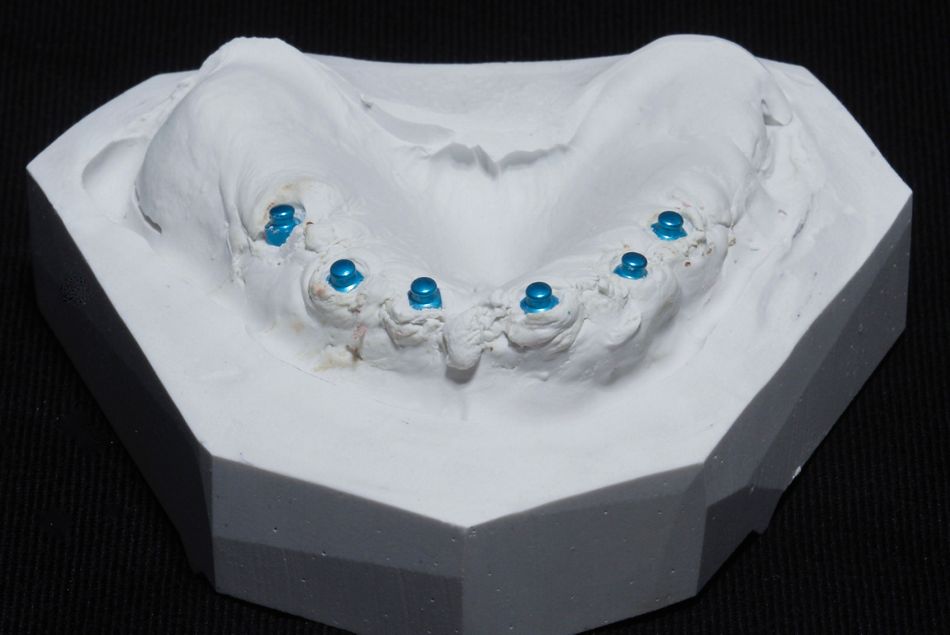
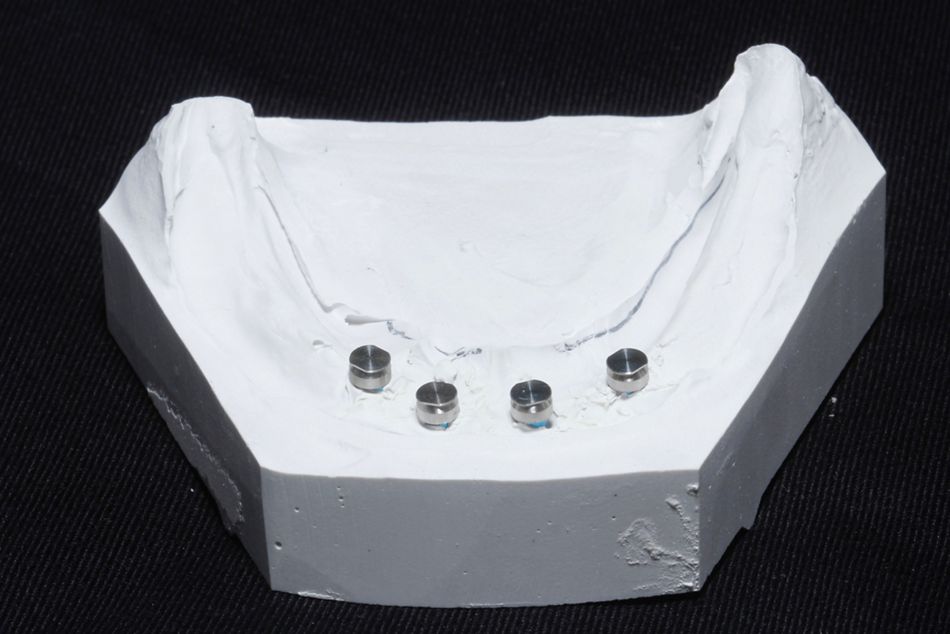
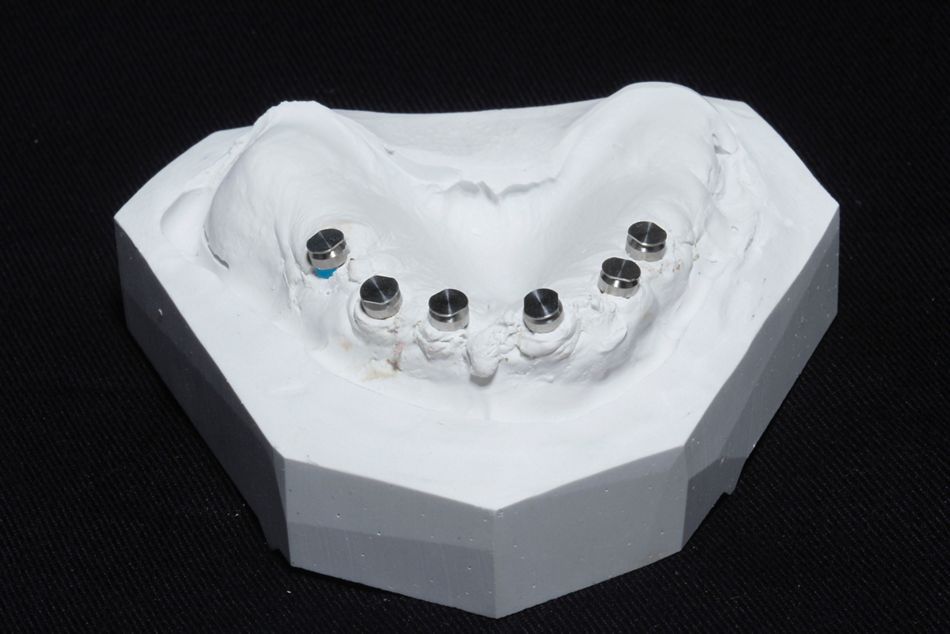
In the dental laboratory implant analogs were inserted, and a master cast was created (Figs. 44-49) and assembled onto the semi-adjustable articulator.
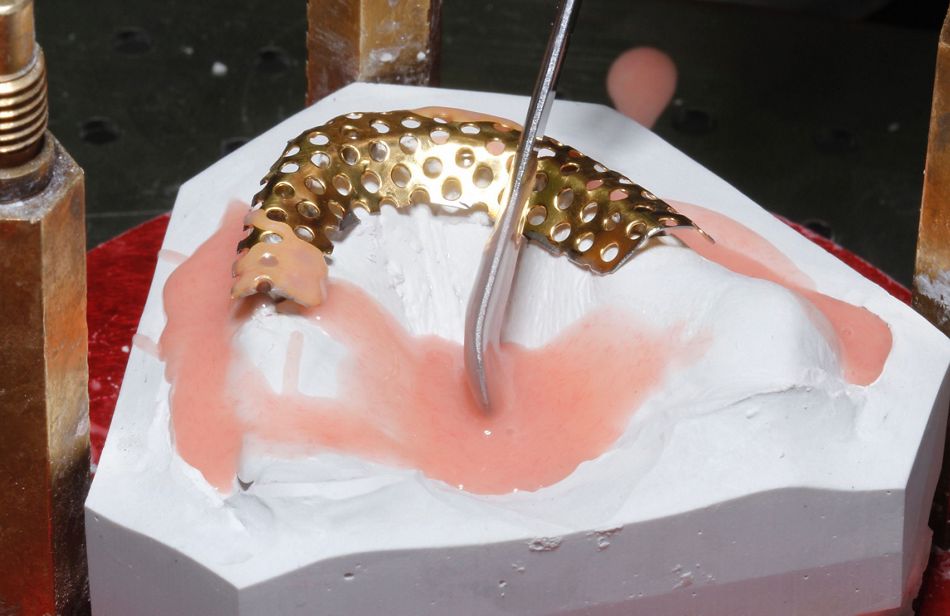
The prostheses were hollowed out to create sufficient space for the housings of the Straumann® Mini Implants, which were already positioned in the optimal axis on the master model. A metal mesh was used to improve the fracture resistance of the dentures (Fig. 50).
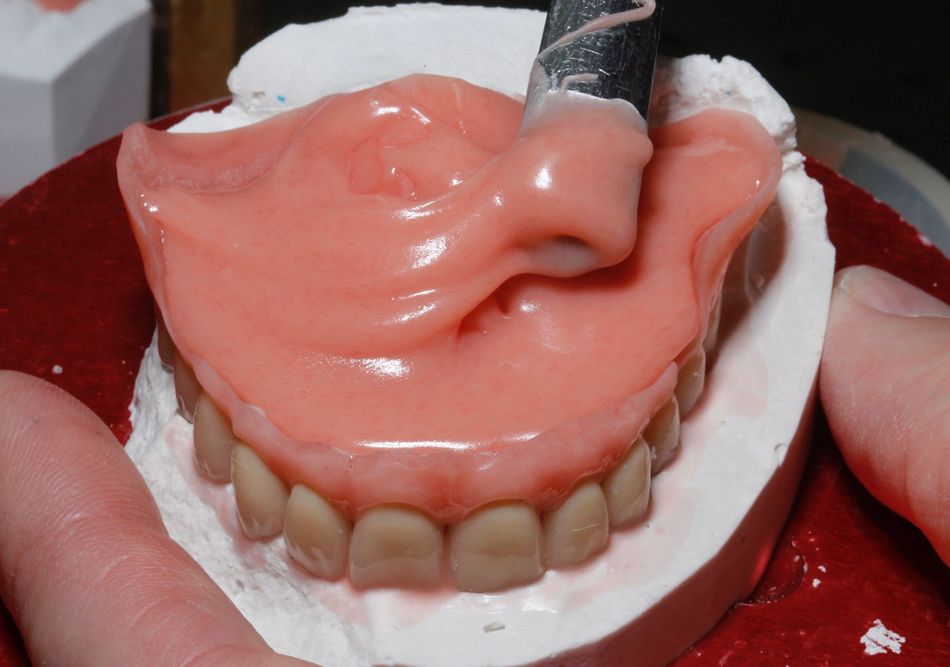
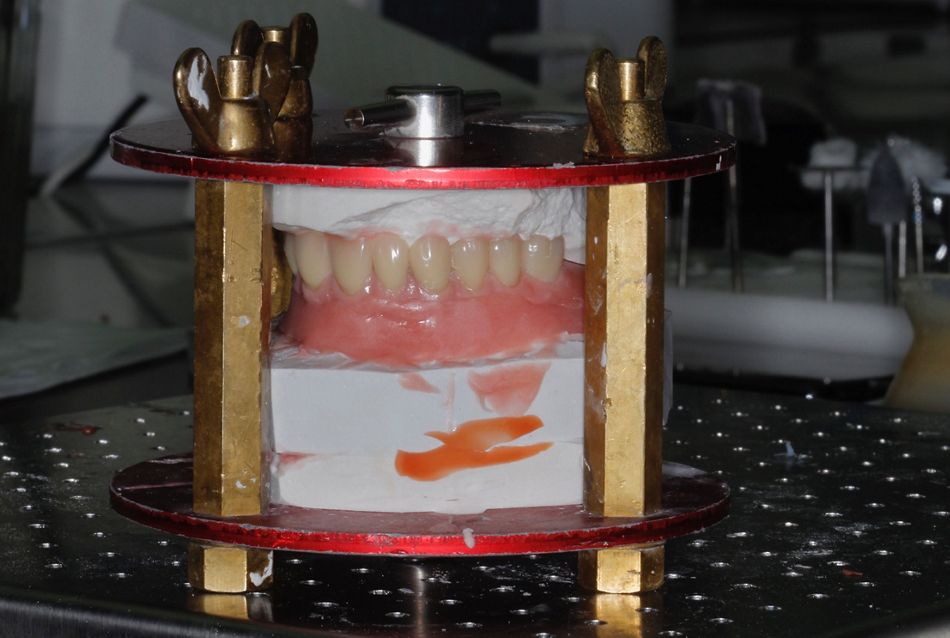
The acrylic resin material (PalaXpress Ultra, Heraeus-Kulzer) was prepared and poured onto the dentures, which were pressed against the isolated master cast. The pressure was levelled by means of three screws and a zero line to avoid an unbalanced and excessively thick layer of acrylic. After the acrylic was set, careful and meticulous polishing procedures were carried out (Figs. 51-52).
Final result
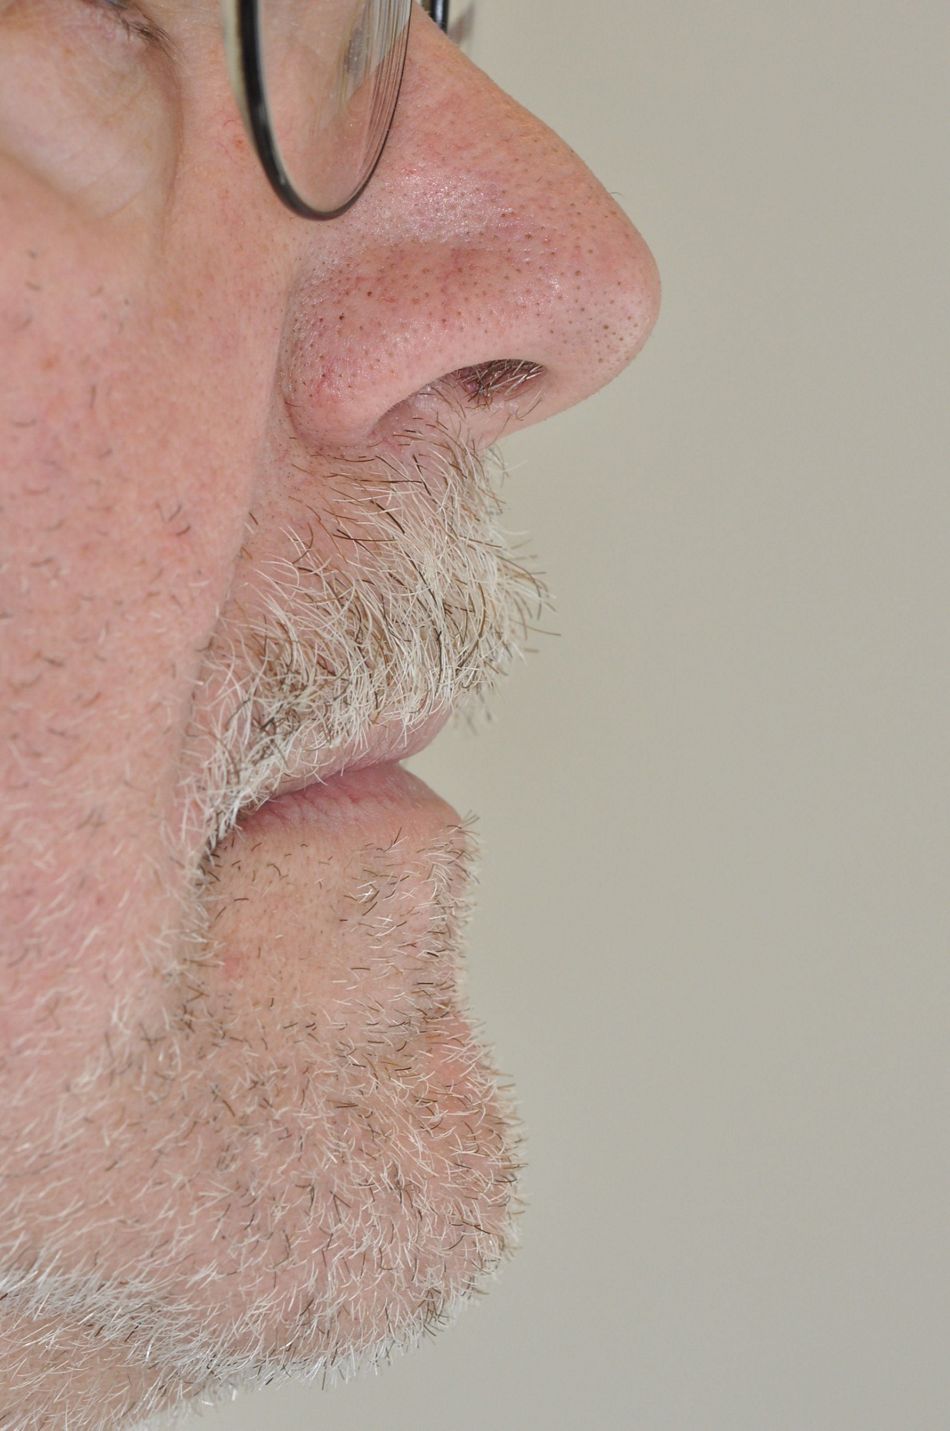
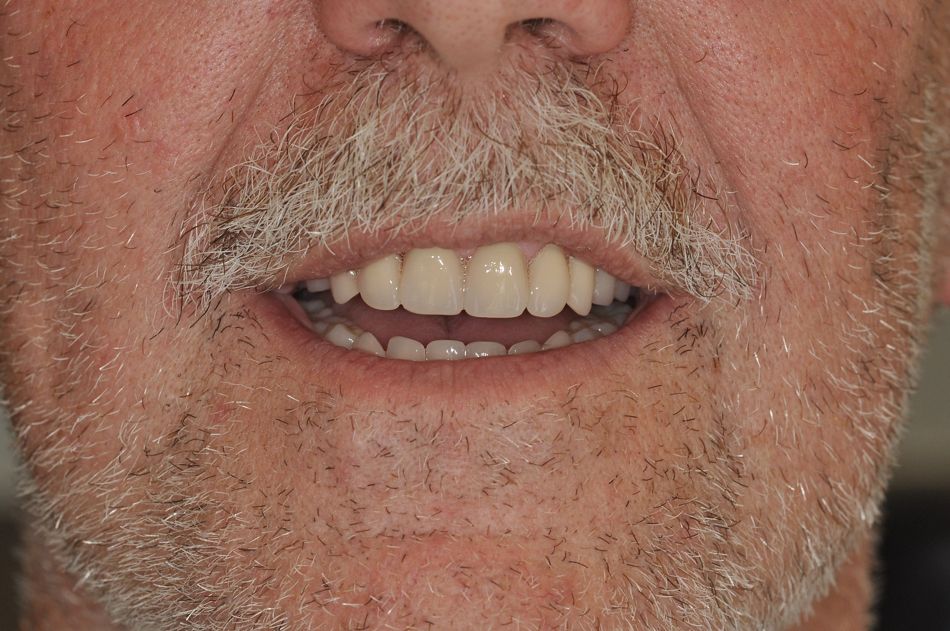
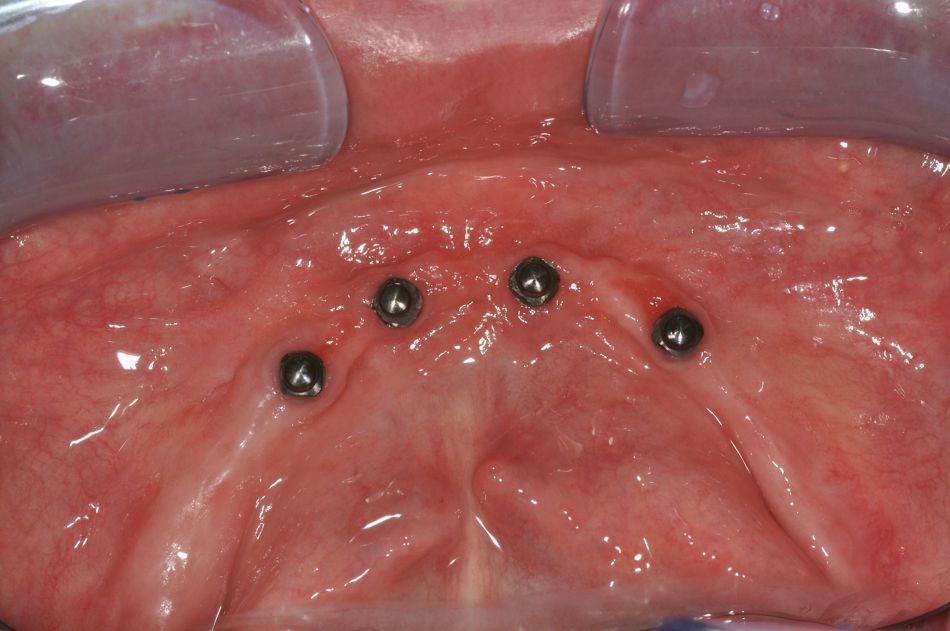
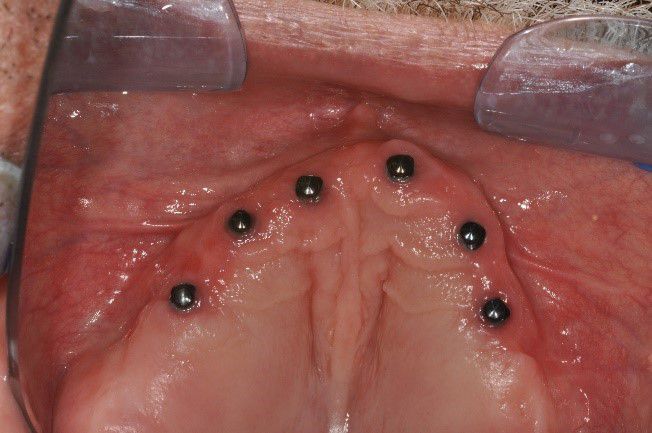
The patient received both prostheses within approximately four hours of implant placement (Figs. 53-56). The first check-up was arranged seven days after implant placement, during which the sutures were removed (Figs. 57-58). The patient reported an uneventful healing period, and no complications were observed after three weeks (Figs. 59-60). The upper prosthesis still maintained the acrylic palate to help keep it stable during osseointegration (Fig. 52).
After three months, the patient returned to the office with good soft tissue conditions and healthy peri-implant conditions, so that the palate could be removed to provide the patient with better phonetics and tactile sensation (Fig. 61).
Conclusion
The patient was very satisfied with the final result, as his masticatory performance and esthetic appearance had clearly improved. Also, his worries about long and painful treatment sessions were addressed by the immediate loading approach. It can be concluded that the immediate loading protocol in the edentulous jaw is a promising treatment option.

