#Patientcomfort 15. Jul 2022

Guided implant placement with immediate loading: a 5-year follow-up case report

A clinical case report by Prof. Dr. Hani Tohme, Lebanon

The continuous development in computer technology and dental processing ensures new opportunities in the field of fixed prosthodontics. Nowadays, we can easily manage implant positioning in relation to the required prosthetic outcome by utilizing a precise surgical guide and a fully digital workflow. This is very favorable, especially when immediate implant placement and loading are involved. However, a thorough risk assessment before the implant treatment is also essential. The following case report describes a successful treatment of a hopeless lower premolar with a 5-year follow-up in a young patient. The treatment included a fully digital workflow and the use of a Straumann® Bone Level Tapered implant with immediate loading and placement.

Initial situation

A non-smoker 25-year-old female patient with no remarkable medical issues presented to our office for a consultation regarding food impaction in the right lower jaw. Her chief complaint was food getting stuck between her teeth, giving her bad breath despite her efforts to maintain good oral hygiene. She also stated that the tooth concerned had changed color over time and that she was very dissatisfied with its esthetic appearance.

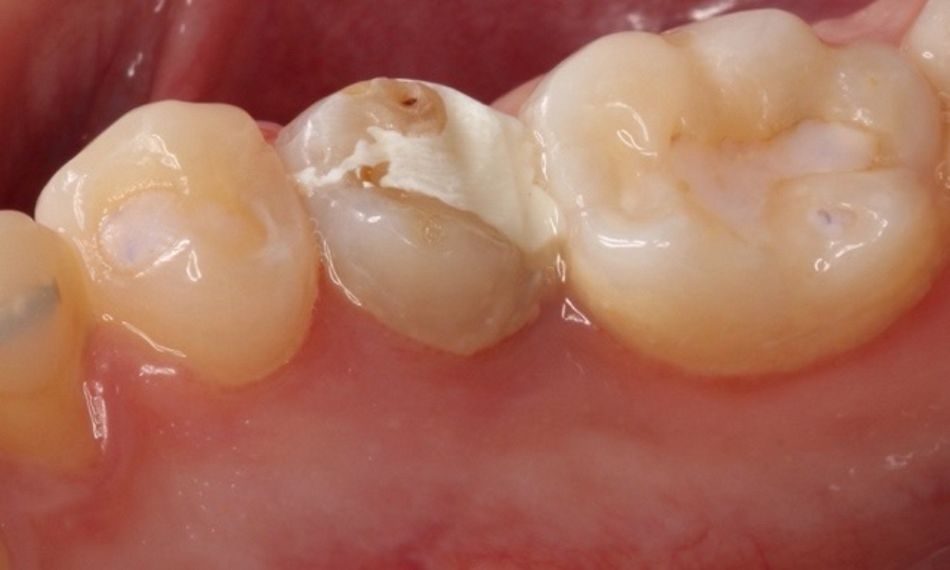
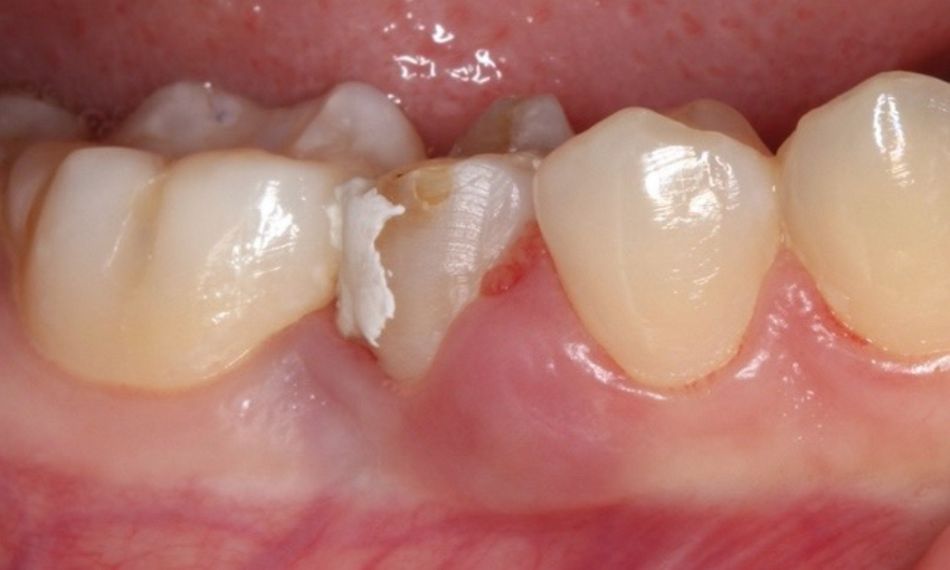
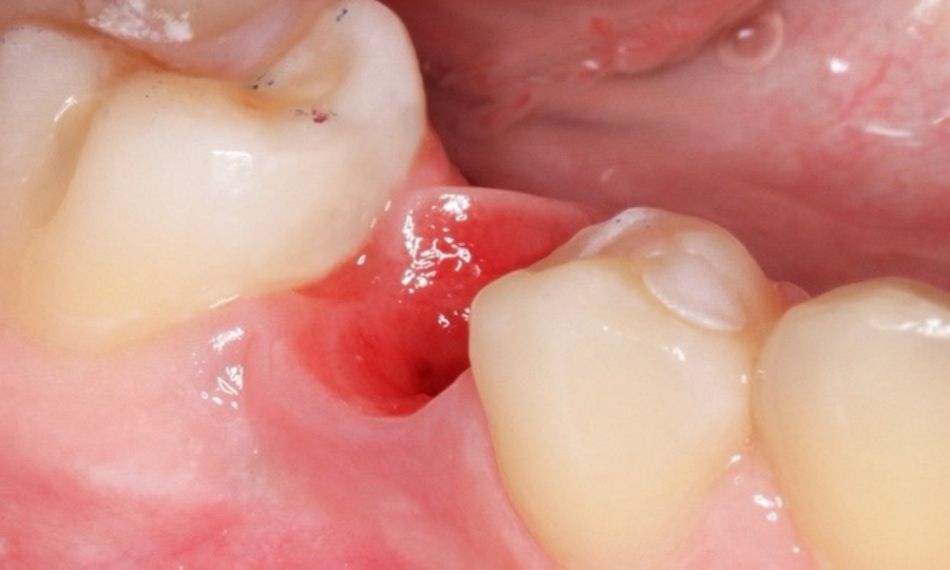
The intraoral examination revealed tooth #45 with a failing distal occlusal provisional restoration and a greyish color compared to the adjacent teeth. Furthermore, the gingival tissues around the tooth were inflamed and presented BoP+ in all locations.

Given these clinical characteristics, a vitality test was carried out. The cold test was negative, but the percussion test was positive (Figs. 1,2).

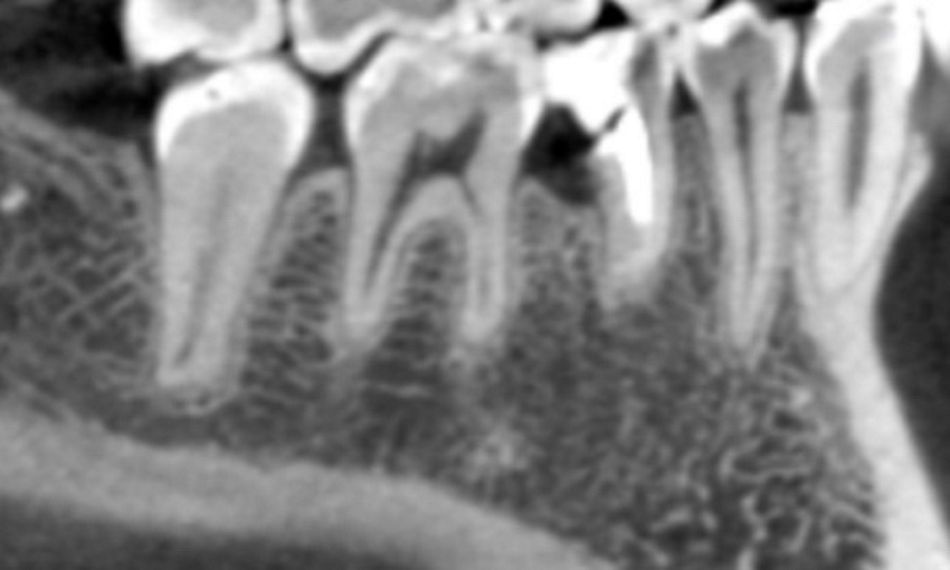
The radiographic examination showed a crown fracture of tooth 45 extending to the root (Fig. 3).

Treatment planning

After a thorough discussion of the treatment options with the patient, she opted for an immediate implant placement and provisional restoration. The corresponding treatment workflow was as follows:

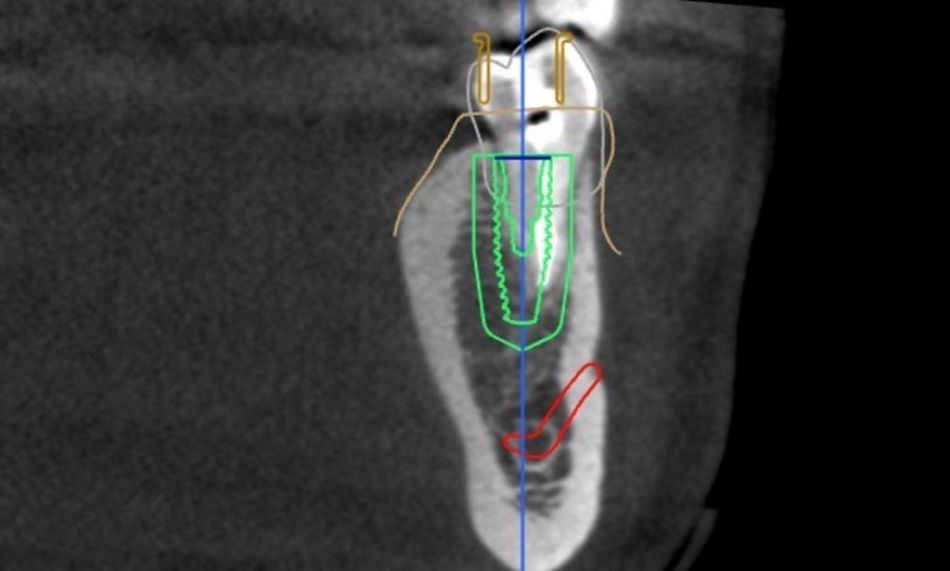
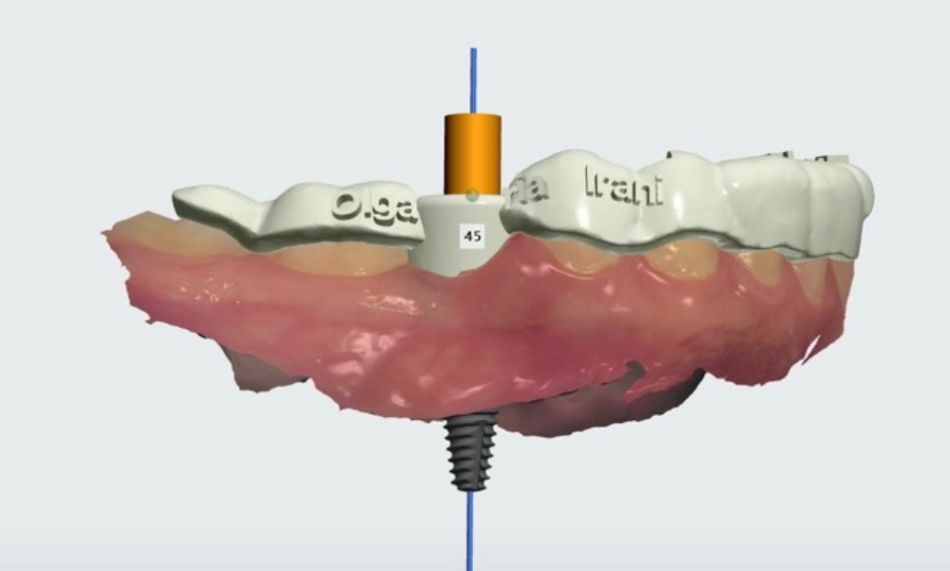
  • Digital planning to establish a prosthetically-driven implant position. (Figs. 4,5).
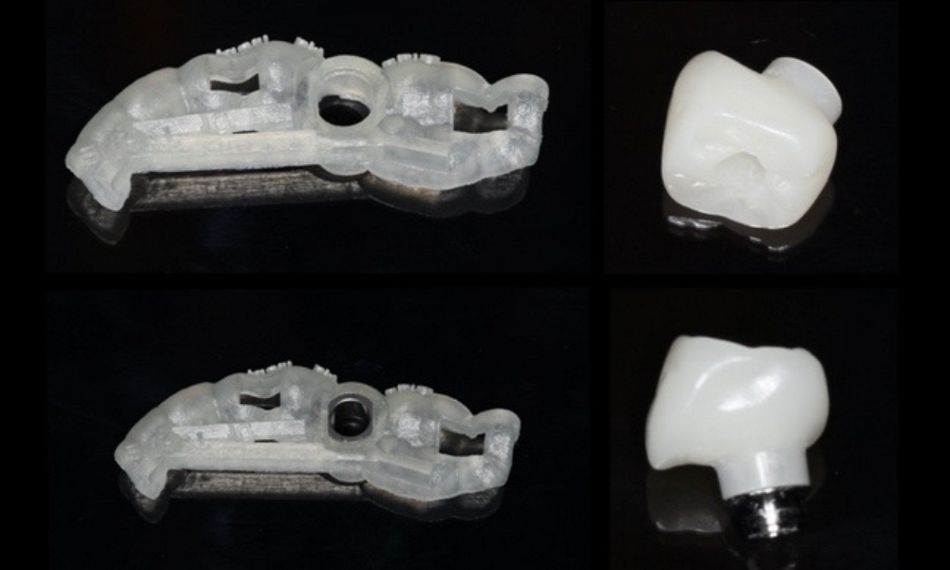
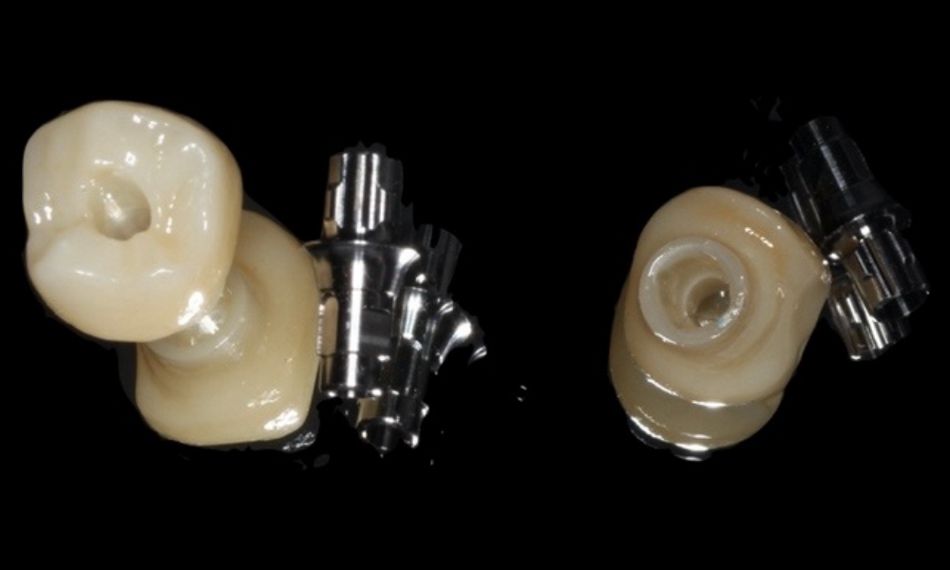
  • Temporary crown preparation before the surgery and design for the Variobase® abutment. (Fig. 6)
  • Design of surgical guide to be completely tooth-supported to prevent rocking.
  • Atraumatic tooth extraction and guided implant placement of Straumann® Bone Level Tapered implant.
  • Implant loading prior to achieving primary stability (35N insertion torque, 75 ISQ).
  • Screw in the temporary crown extraorally bonded to the Variobase®.
  • After healing, use the same gingival/abutment height Variobase® for the digitally fabricated zirconia crown.

Surgical procedure

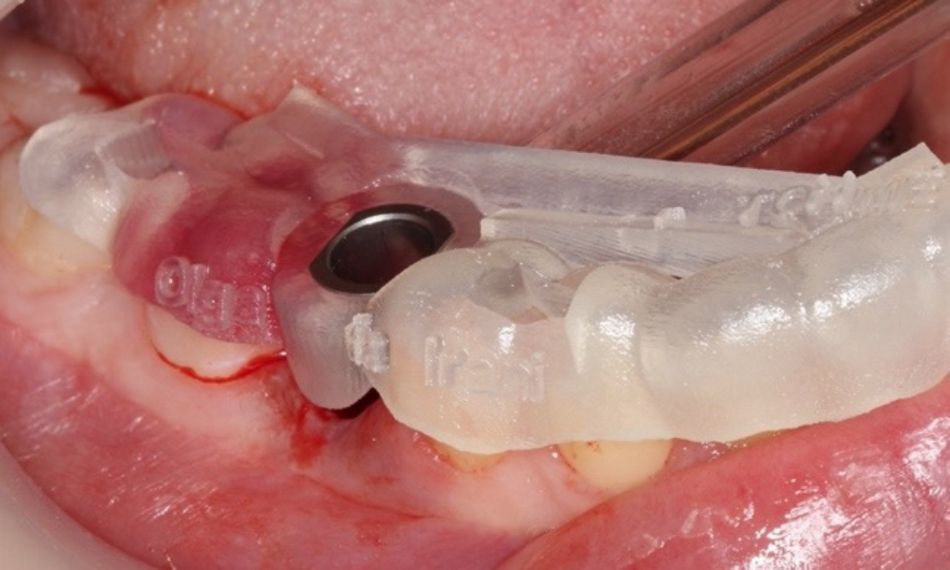
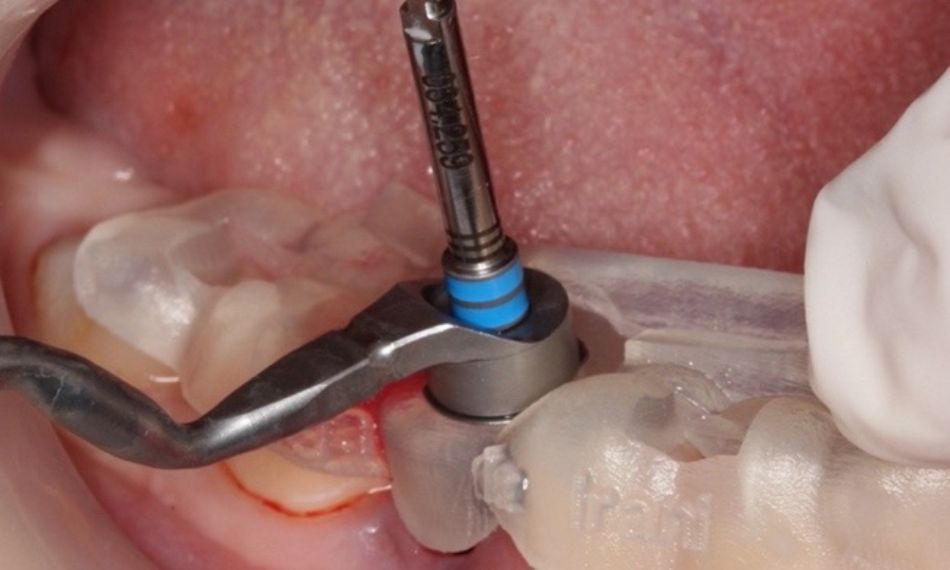
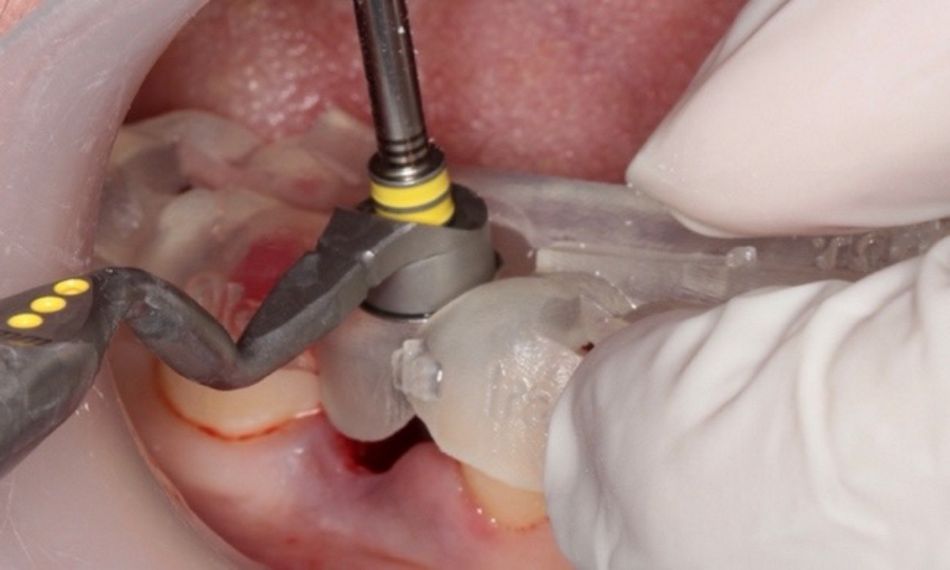
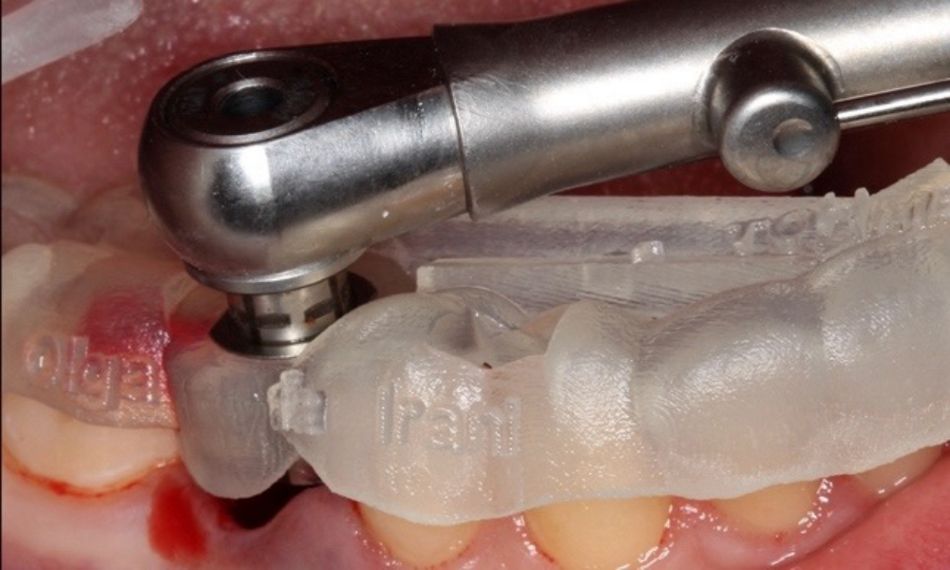
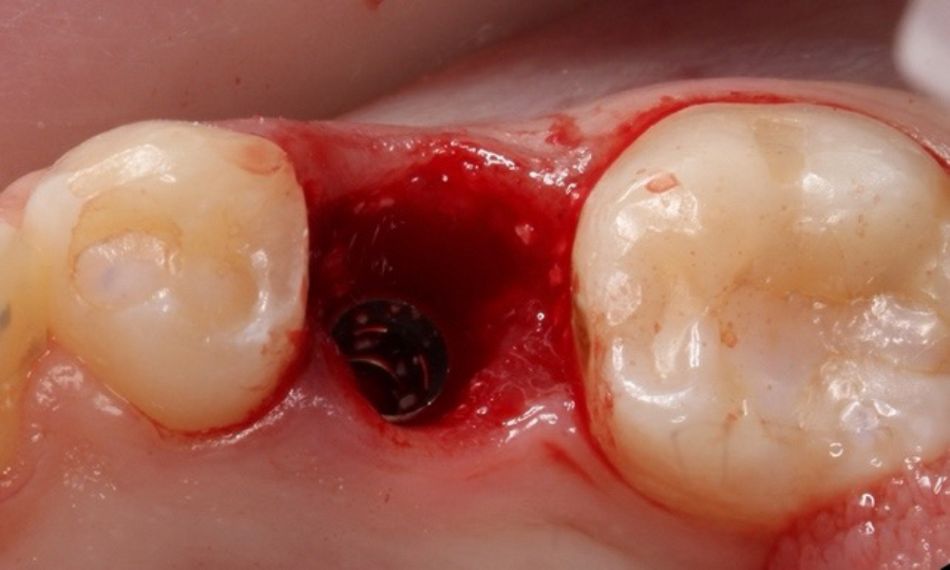
Local anesthesia with lidocaine 2% with epinephrine 1:100k was administered, and an atraumatic extraction of tooth #45 was performed. The tooth-supported surgical guide was stabilized after tooth extraction (Fig. 7). The implant bed was prepared following the manufacturer’s instructions for guided surgery, and the Straumann® Bone Level Tapered Implant was placed with an optimal insertion torque (Figs. 8-11).


Want to stay up to date?

youTooth.com is THE PLACE TO BE IN DENTISTRY – subscribe now and receive our monthly newsletter on top hot topics from the world of modern dentistry.


Prosthetic procedure

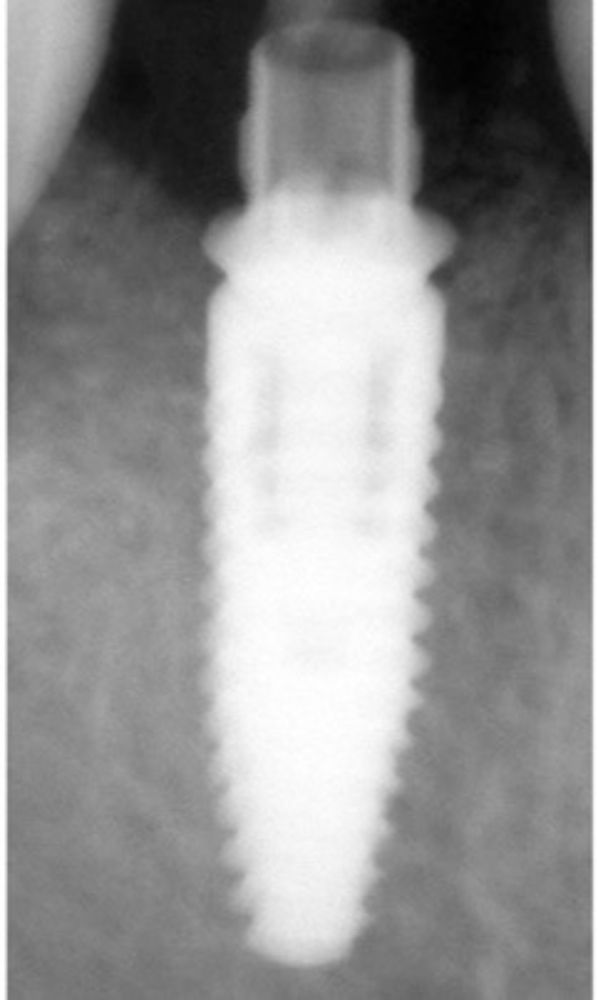
An immediate temporary crown was placed, and a periapical radiograph of the implant with the Variobase® was taken immediately after the surgery (Figs. 12,13).

After three months of healing, the mucosal dimensions and contours were found to be preserved (Fig. 14).

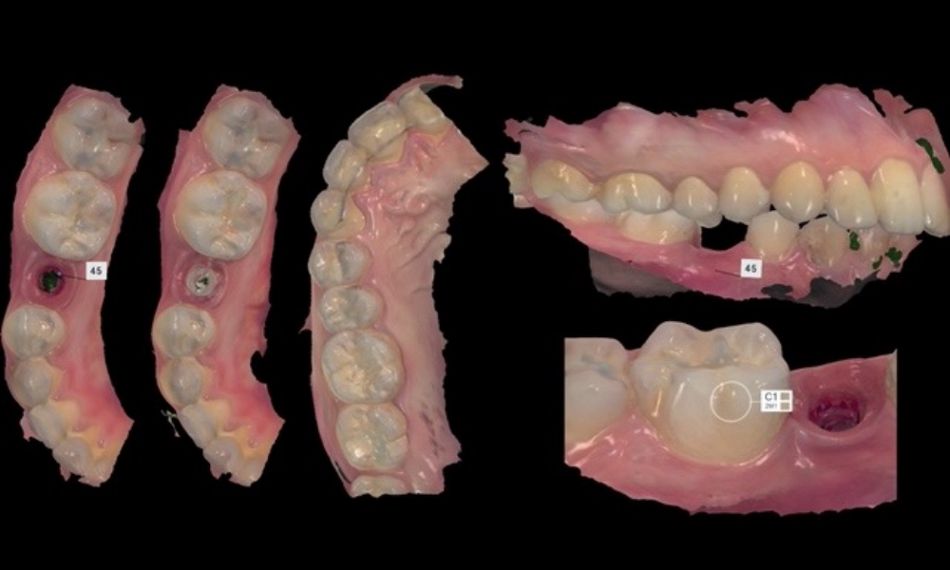
Following the Straumann® Scanbody placement, digital impressions were taken. The intraoral scan registering the emergence profile, intraoral scanbody, and antagonist was sent to the lab (Fig. 15). Based on this information, the final restoration was digitally designed and fabricated (Fig. 16).

At the next visit, the final crown was screwed in place, and an a periapical X-ray was taken as control (Figs. 17,18).

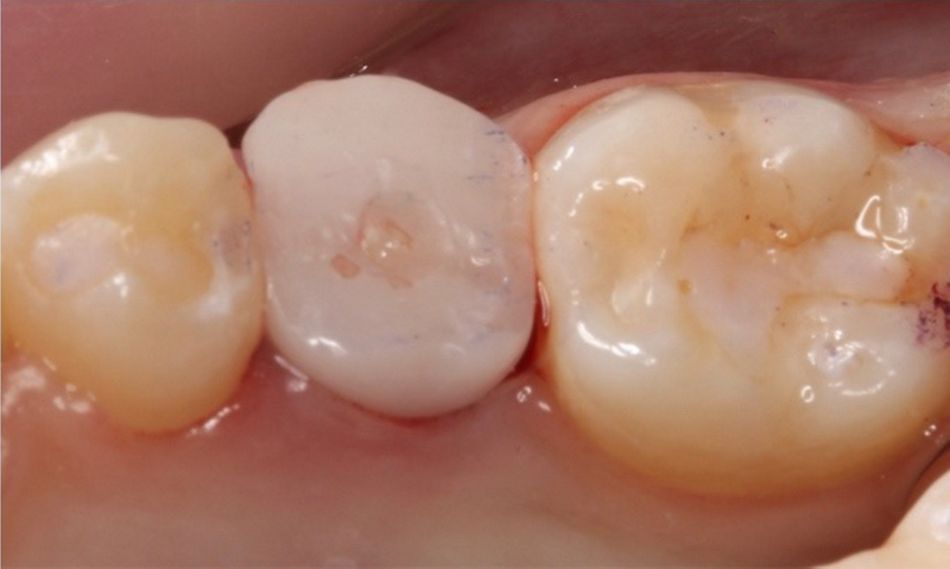
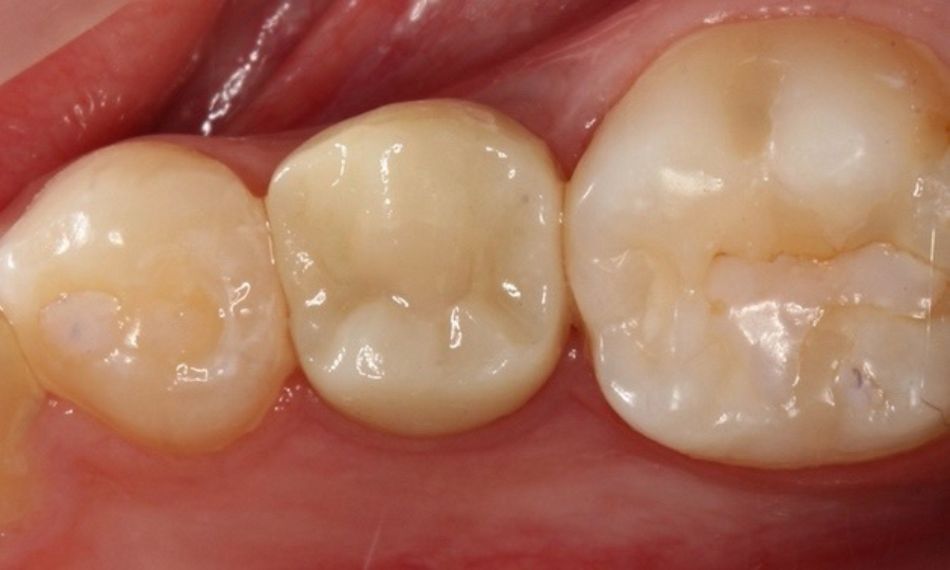
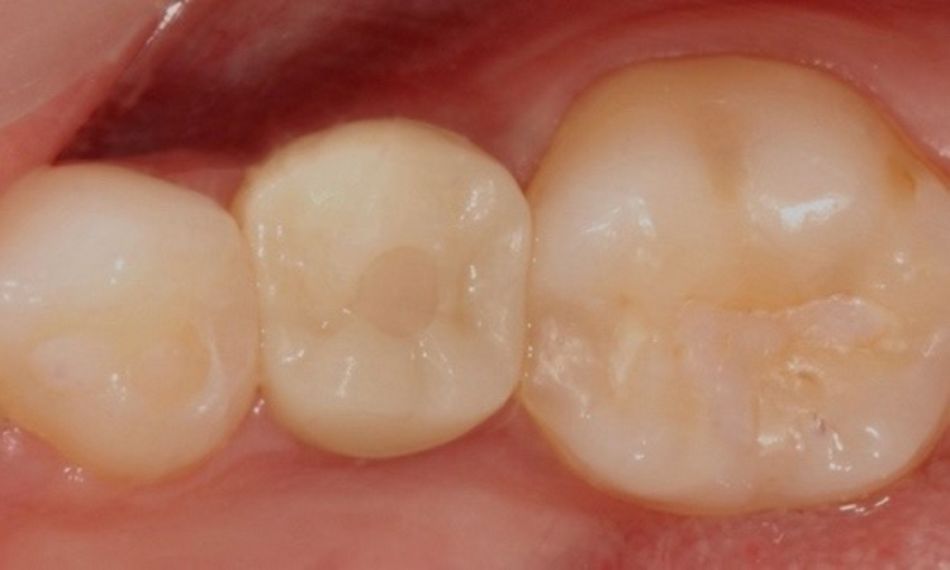
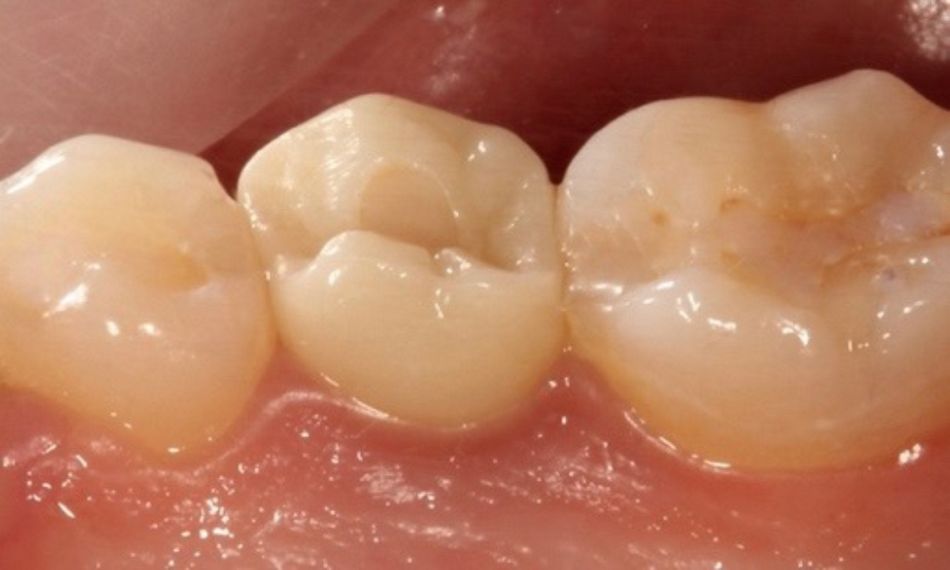
After the fit of the abutment and the restoration were evaluated, the screw insertion hole was closed with Teflon and composite (Figs. 19,20).

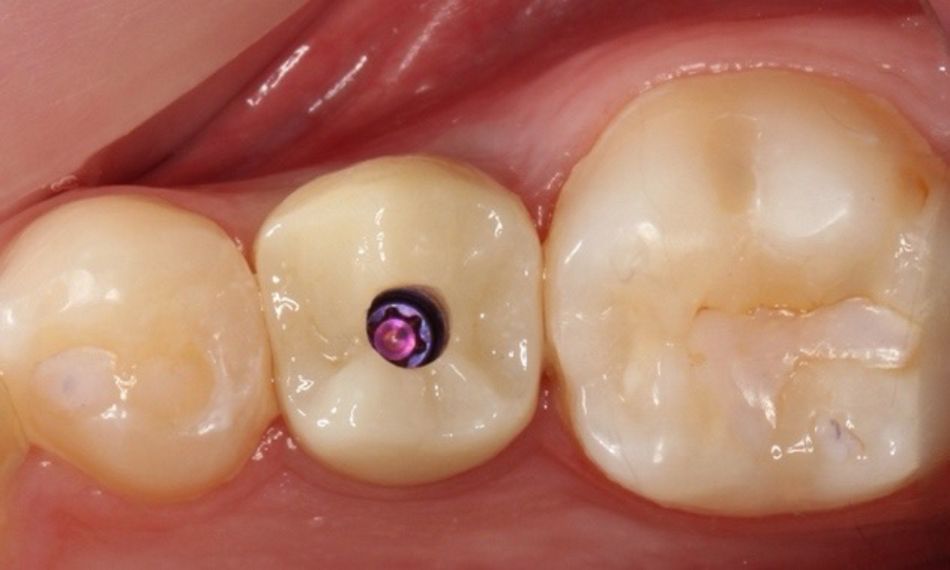
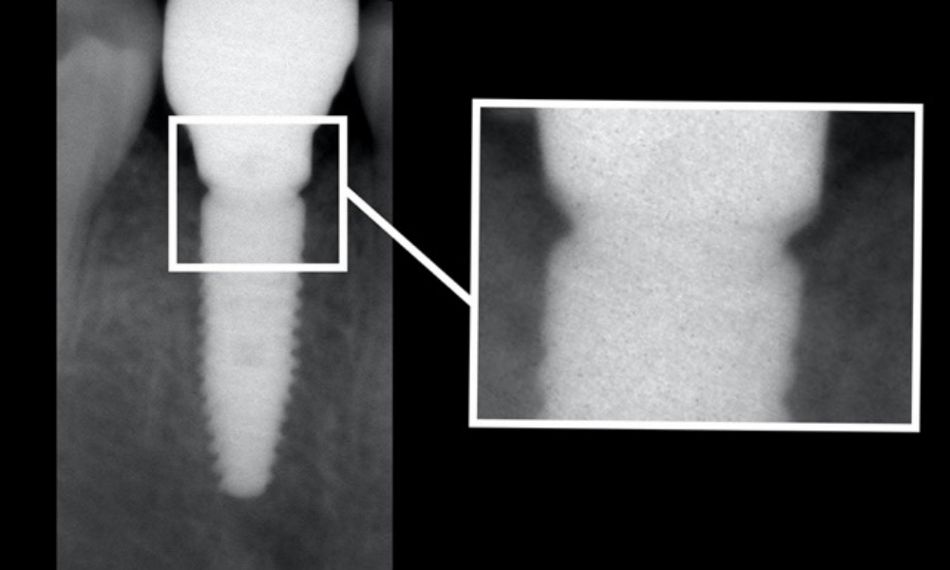
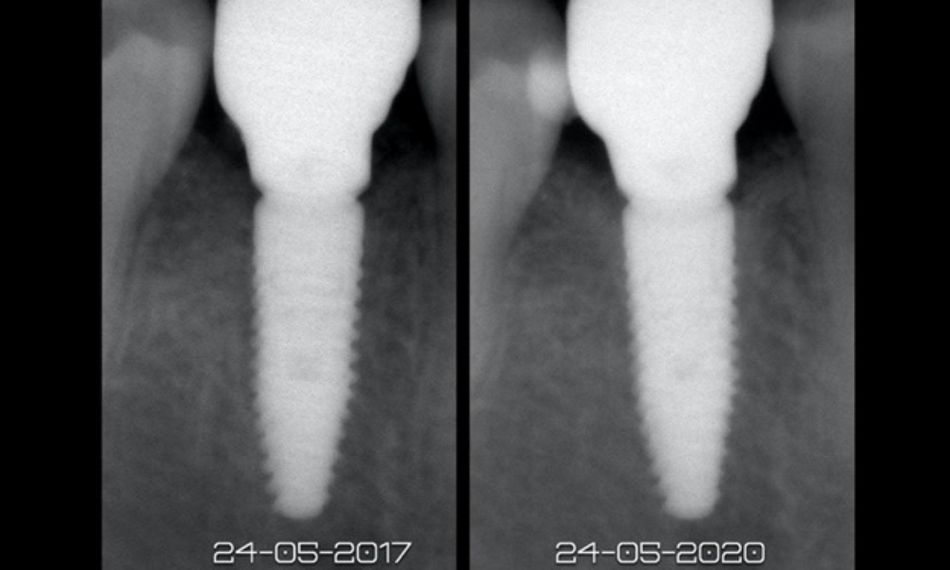
The patient received detailed oral hygiene instructions and participated in a yearly maintenance program with evaluation of the clinical and radiographic findings. After 4 years, the clinical and radiographic images showed stable peri-implant hard and soft tissues (Figs. 21,22)

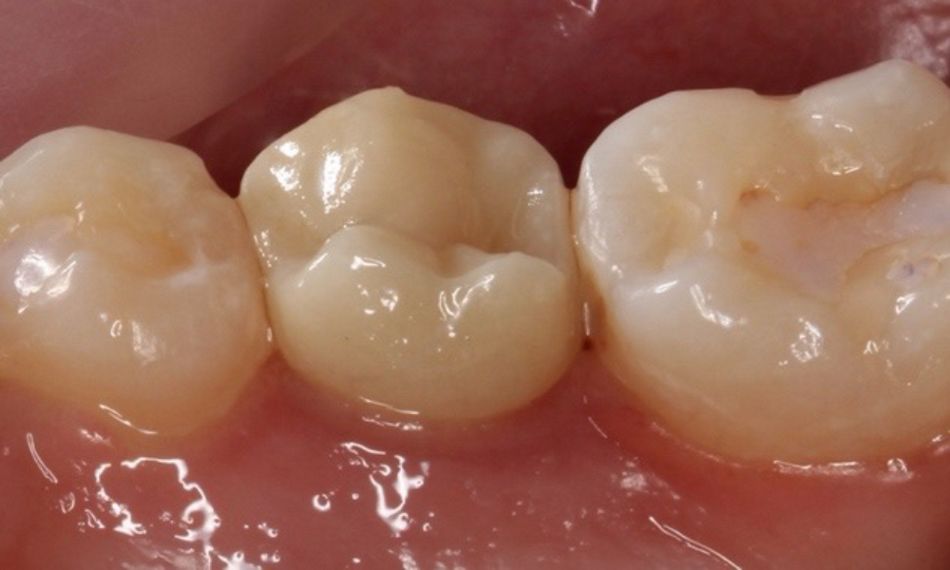
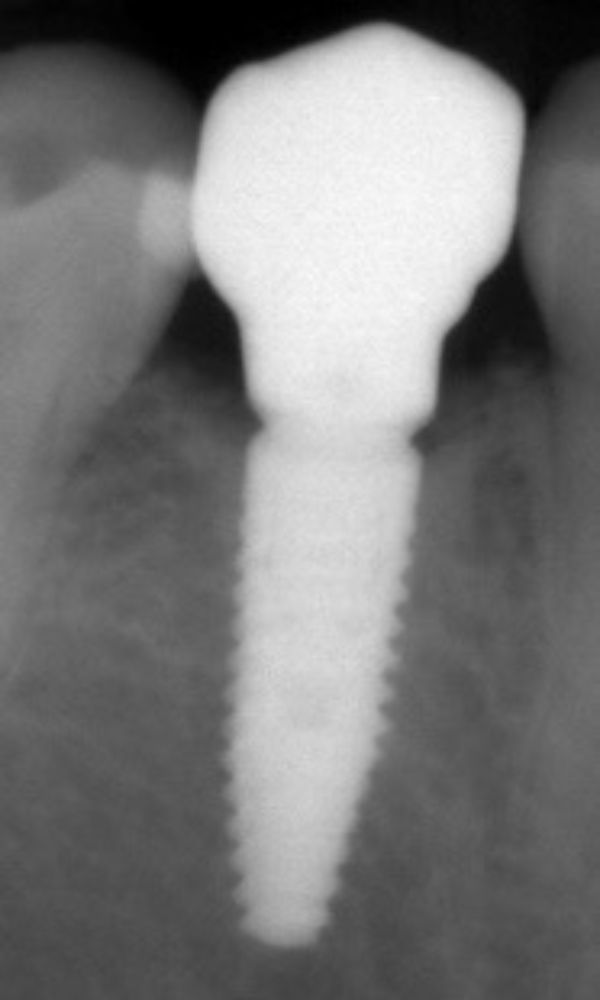
The patient returned for her 5-year follow-up, and hard and soft tissues were stable according to the clinical and radiographic assessments (Figs. 23-25).

Treatment outcomes

The outcome for the peri-implant hard and soft tissues was outstanding, thanks to the correct diagnosis and treatment plan, but also to the use of optimal materials and the participation of the patient in a customized maintenance program.

Author’s testimonial

In my daily practice, I have found that a digital approach can boost patient satisfaction due to its efficiency and potential to reduce treatment costs. In addition, these new technologies also help minimize errors and consequently enable clinicians to provide more predictable treatments.